If you’re looking for a treat that’s as easy to whip up as it is delightful to eat, you’ve come to the right place! These No Bake Chocolate Oatmeal Bars are a family favorite that I love making for everything from busy weeknights to spontaneous gatherings. With just a handful of simple ingredients, you can create a delicious snack that satisfies sweet cravings without turning on the oven. They’re perfect for lunchboxes or as an afternoon pick-me-up!
The best part? You can customize these bars to fit your taste, making them ideal for any occasion. Whether you’re hosting friends or enjoying a quiet evening at home, these bars will surely be a hit!
Why You’ll Love This Recipe
- Super easy to make: No baking required means you can throw these together in no time!
- Family-friendly appeal: Everyone loves chocolate and oats—this sweet treat is sure to please all ages.
- Make-ahead convenience: Prep them in advance and store them in the fridge for a quick snack whenever you need.
- Decadent flavor: The rich chocolate and nutty peanut butter flavors come together beautifully for a satisfying dessert.
- Healthy-ish indulgence: Packed with oats, these bars offer some wholesome benefits while still being deliciously sweet.
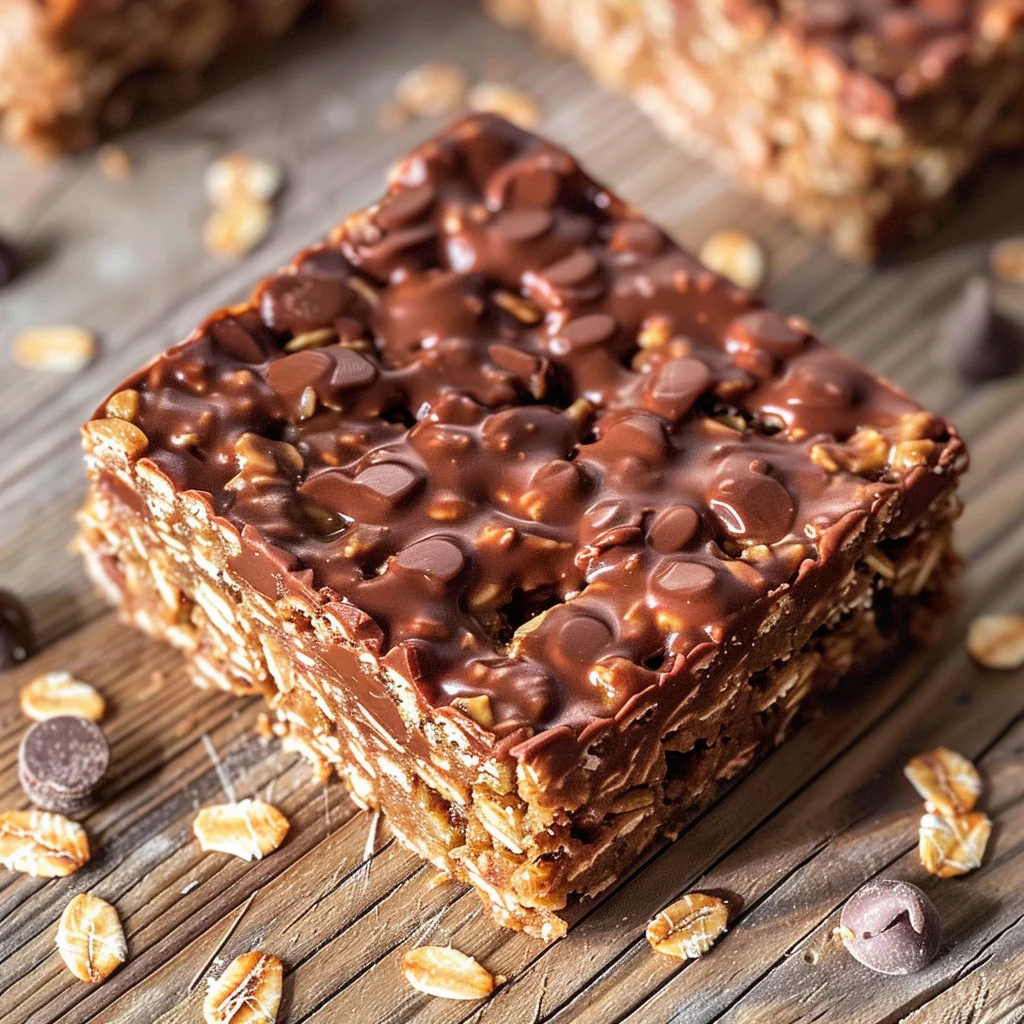
Ingredients You’ll Need
You’ll only need some simple, wholesome ingredients to make these delectable bars. Grab your favorites from the list below, and you’ll be on your way to enjoying these sweet treats!
For the Base
- 1 cup butter
- 1/2 cup brown sugar (packed)
- 1 teaspoon vanilla extract
- 3 cups rolled oats
For the Filling
- 1 cup semisweet or dark chocolate chips
- 1/2 cup peanut butter
Variations
This recipe is wonderfully flexible! Here are some fun ideas to mix things up:
- Add nuts or seeds: Toss in some chopped almonds or sunflower seeds for added crunch and nutrition.
- Use different nut butters: Swap peanut butter with almond or cashew butter for a unique twist.
- Make it vegan: Substitute the butter with coconut oil and opt for dairy-free chocolate chips.
- Add dried fruits: Incorporate raisins or cranberries for a chewy texture and extra flavor.
How to Make No Bake Chocolate Oatmeal Bars
Step 1: Prepare the Baking Dish
Start by lining an 8-inch or 9-inch square baking dish with parchment paper. This step is crucial because it allows you to lift out the bars easily once they set. If you’d like thinner bars, feel free to use a larger dish!
Step 2: Melt the Butter and Sugar
In a large saucepan over medium heat, melt the butter along with the packed brown sugar until smooth. Stir in the vanilla extract and mix in the rolled oats. Cooking this mixture over low heat helps meld all those wonderful flavors together, creating a cohesive base.
Step 3: Form the Crust
Pour half of your oat mixture into the prepared baking dish, spreading it evenly and pressing down firmly. This creates a sturdy base for your bars while reserving half of that mixture for later layers.
Step 4: Create the Chocolate Filling
In a microwave-safe bowl, melt together the peanut butter and chocolate chips until smooth. This melty filling adds that decadent touch we all love! Pour it over your crust layer but remember to reserve about 1/4 cup for drizzling on top.
Step 5: Assemble Your Bars
Spread the melted chocolate mixture evenly over the crust layer. Then take your reserved oat mixture, pour it over this chocolate layer gently pressing down again. Drizzle with any remaining chocolate mixture on top—this adds an extra touch of sweetness!
Step 6: Chill Until Set
Refrigerate your assembled bars for 2-3 hours or overnight if you can resist! Letting them chill allows everything to set perfectly so they’re sliceable without crumbling.
Once they’ve reached room temperature, cut them into squares and get ready to enjoy every delicious bite!
Pro Tips for Making No Bake Chocolate Oatmeal Bars
Making the perfect no-bake chocolate oatmeal bars is all about attention to detail. Here are some pro tips to ensure your bars turn out delicious every time!
Use parchment paper: Lining your baking dish with parchment paper not only makes for easy removal but also prevents sticking, ensuring clean-cut bars.
Monitor the heat: Cooking the butter and brown sugar mixture over medium heat until fully melted and combined is key. If the mixture isn’t hot enough, it won’t bind properly, leading to crumbly bars.
Choose quality chocolate: Opt for good-quality semisweet or dark chocolate chips. This choice significantly enhances the flavor and texture of your filling.
Let them chill completely: Allowing the bars to refrigerate for at least 2 hours (or overnight) is crucial. This chilling time helps them firm up, making them easier to cut and more enjoyable to eat.
Adjust sweetness to taste: Feel free to tweak the amount of brown sugar or peanut butter based on your preference. This flexibility allows you to customize the bars to suit your taste buds!
How to Serve No Bake Chocolate Oatmeal Bars
Serving these delightful no-bake chocolate oatmeal bars can be as fun as making them! Here are some ideas to present them beautifully and enhance the overall experience.
Garnishes
- Chopped nuts: Sprinkling chopped almonds or walnuts on top adds a crunchy texture that complements the creamy filling.
- Cocoa powder dusting: A light dusting of cocoa powder or powdered sugar can make these bars look extra special, adding a touch of elegance.
Side Dishes
- Fresh fruit salad: A mix of seasonal fruits like berries, bananas, and apples adds freshness and balances the sweetness of the bars.
- Yogurt parfait: Serving with a side of yogurt layered with granola provides a healthy option that pairs well with the rich flavors of the bars.
- Chocolate smoothie: A creamy chocolate smoothie can echo the flavors in your dessert while offering a refreshing drink option.
- Tea or coffee: Pairing these bars with a warm cup of herbal tea or coffee creates a comforting atmosphere perfect for enjoying this treat.
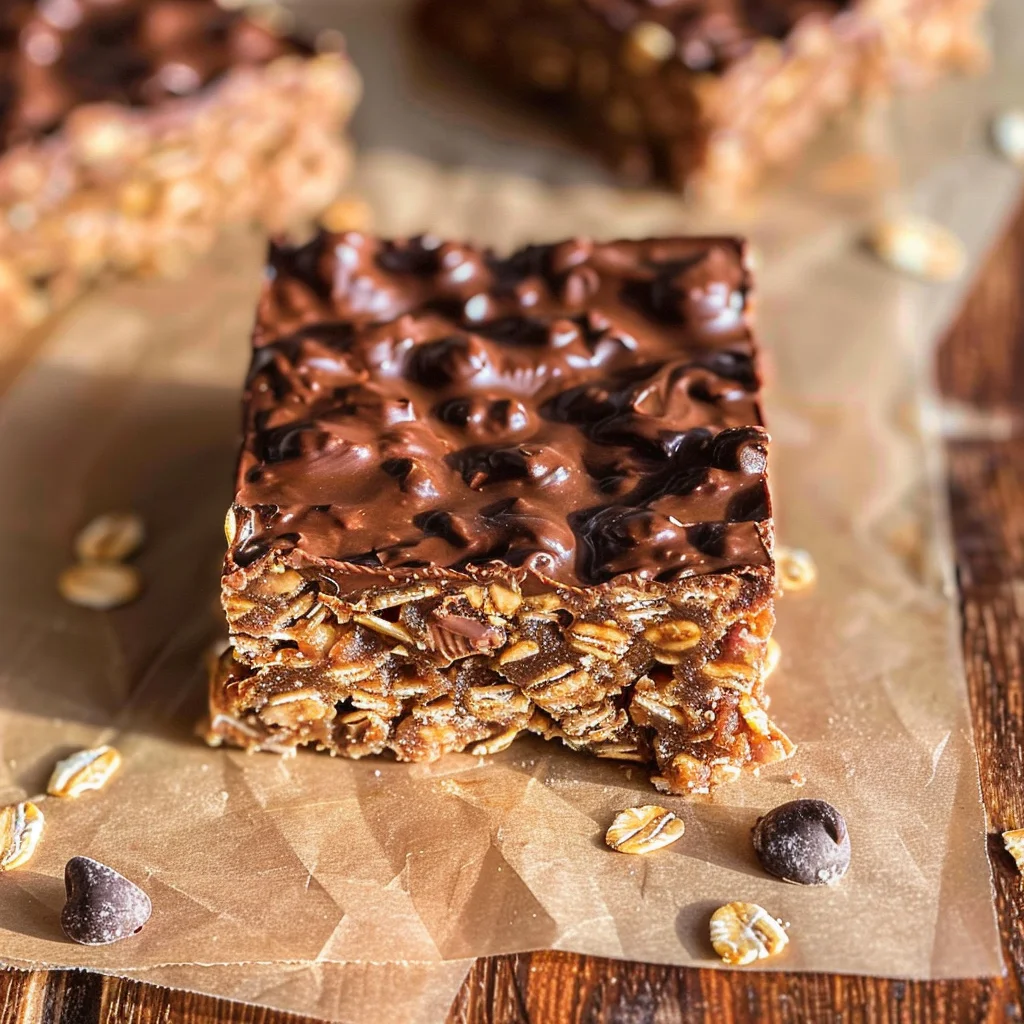
Make Ahead and Storage
These No Bake Chocolate Oatmeal Bars are perfect for meal prep, allowing you to enjoy a delicious treat anytime without the fuss of baking. Here’s how to store and keep them fresh:
Storing Leftovers
- Store the bars in an airtight container at room temperature for up to 3 days.
- For longer freshness, refrigerate the bars, where they can last up to a week.
Freezing
- Wrap individual bars in plastic wrap or aluminum foil and place them in a freezer-safe bag.
- They can be frozen for up to 3 months. Just make sure to label the bags with the date!
Reheating
- If you prefer your bars warmed, microwave them for about 10-15 seconds.
- Enjoy them straight from the fridge or at room temperature for the best texture.
FAQs
Can I make these No Bake Chocolate Oatmeal Bars vegan?
Yes! You can substitute the butter with coconut oil or a plant-based margarine and use dairy-free chocolate chips to create a delicious vegan version.
How long do No Bake Chocolate Oatmeal Bars last?
When stored properly in an airtight container, these bars can last up to a week in the refrigerator or about 3 months in the freezer.
What can I use instead of peanut butter in No Bake Chocolate Oatmeal Bars?
You can substitute peanut butter with almond butter, sunflower seed butter, or any nut-free alternative if allergies are a concern.
Can I add other ingredients to my No Bake Chocolate Oatmeal Bars?
Absolutely! Feel free to mix in your favorite nuts, seeds, or dried fruits for added flavor and texture.
Are No Bake Chocolate Oatmeal Bars healthy?
These bars are a great source of fiber and healthy fats, making them a nutritious option for a snack or dessert when enjoyed in moderation.
Final Thoughts
I hope you enjoy making these delightful No Bake Chocolate Oatmeal Bars as much as I do! They’re not only easy to prepare but also incredibly satisfying and versatile. Whether you’re snacking on them after school or serving them at gatherings, they’re sure to be a hit. Happy cooking!
No Bake Chocolate Oatmeal Bars
No Bake Chocolate Oatmeal Bars are the ultimate treat for anyone seeking a quick and delightful dessert without the hassle of baking. These bars combine rich chocolate and creamy peanut butter with wholesome rolled oats, creating a satisfying snack that’s perfect for lunchboxes or afternoon cravings. With just a few simple ingredients, you can whip up these no-bake wonders in no time, making them an ideal choice for busy weeknights or spontaneous get-togethers. Plus, they’re easily customizable to fit your taste preferences, ensuring they’re a hit at any occasion!
- Prep Time: 15 minutes
- Cook Time: 10 minutes
- Total Time: 25 minutes
- Yield: Approximately 12 servings 1x
- Category: Dessert
- Method: No Bake
- Cuisine: American
Ingredients
- 1 cup coconut oil (or butter)
- 1/2 cup packed brown sugar
- 1 teaspoon vanilla extract
- 3 cups rolled oats
- 1 cup semisweet or dark chocolate chips
- 1/2 cup peanut butter
Instructions
- Line an 8-inch square baking dish with parchment paper for easy removal.
- In a saucepan over medium heat, melt the coconut oil and brown sugar until smooth. Stir in the vanilla extract and mix in the rolled oats.
- Press half of the oat mixture into the bottom of the prepared dish.
- In a microwave-safe bowl, melt together the peanut butter and chocolate chips until smooth. Pour over the crust layer, reserving about 1/4 cup for drizzling.
- Spread the reserved oat mixture over the chocolate layer and drizzle any remaining chocolate on top.
- Refrigerate for 2-3 hours or overnight until set. Cut into squares and enjoy!
Nutrition
- Serving Size: 1 square (40g)
- Calories: 180
- Sugar: 8g
- Sodium: 25mg
- Fat: 10g
- Saturated Fat: 5g
- Unsaturated Fat: 5g
- Trans Fat: 0g
- Carbohydrates: 19g
- Fiber: 2g
- Protein: 3g
- Cholesterol: 0mg



Leave a Comment