If you’re looking for a taste of summer that you can enjoy year-round, then this Fresh Cherry Jam is just the thing! There’s something magical about the way sweet cherries turn into a luscious spread, capturing those sunny days and warm memories in every jar. Whether you’re slathering it on your morning toast or swirling it into some creamy yogurt, this jam brings a smile to every meal. Plus, it’s incredibly easy to whip up, making it perfect for busy weeknights or family gatherings.
This recipe is not just about flavor; it’s also about the joy of creating something special with your own hands. It’s a delightful project that even the kids can help with. Get ready to fill your kitchen with the wonderful scent of cooking cherries!
Why You’ll Love This Recipe
- Easy to make: With just a few simple steps, you can create delicious jam without any fuss.
- Versatile use: Enjoy this fresh cherry jam on toast, in desserts, or as a topping for pancakes!
- Family-friendly appeal: Kids love helping mash the cherries and stirring the pot—it’s fun for everyone!
- Make-ahead convenience: This jam keeps well in the fridge, so you can prepare it ahead of time for busy mornings.
- Bursting with flavor: The combination of sweet cherries and a hint of lemon makes this jam absolutely irresistible.
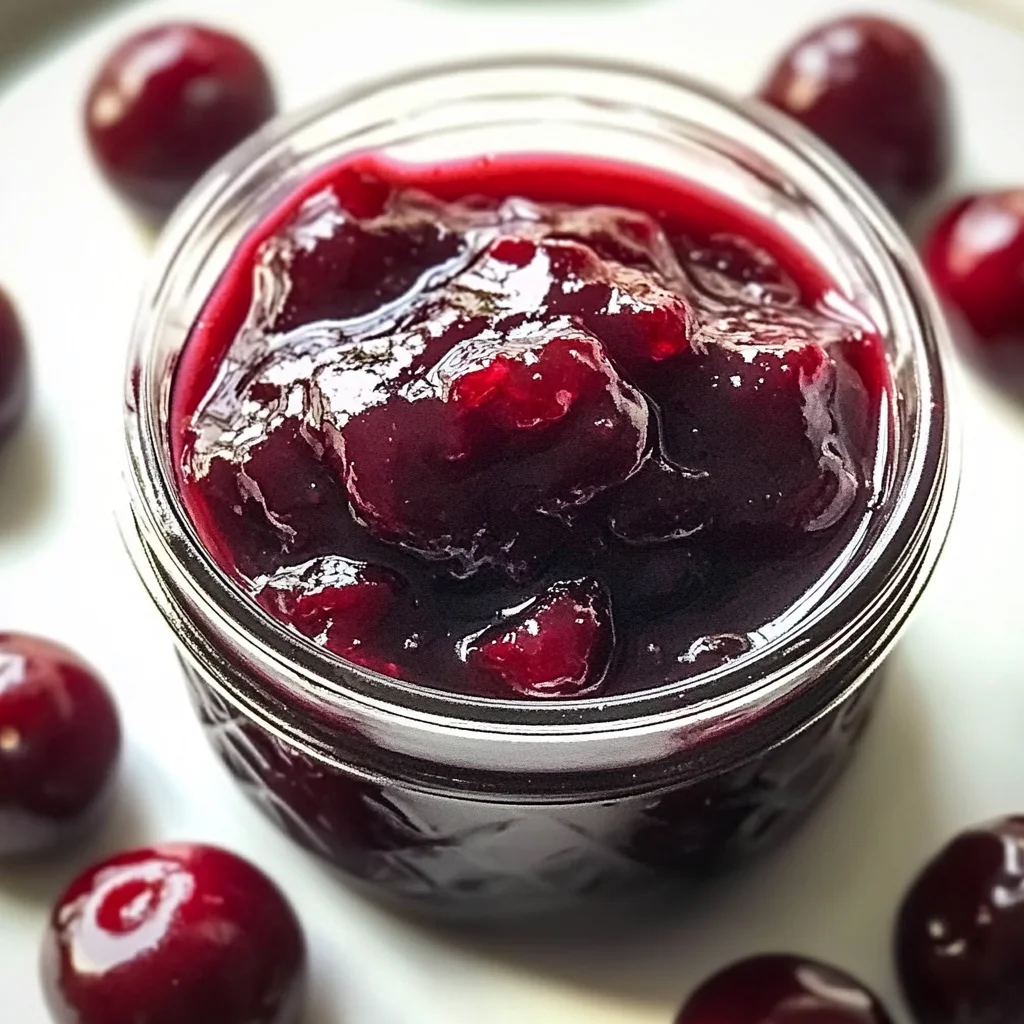
Ingredients You’ll Need
To make your very own Fresh Cherry Jam, you’ll need just a handful of wholesome ingredients. These are simple items that you may already have at home or can easily find at your local grocery store.
For the Jam
- 4 cups fresh cherries, pitted and mashed
- 1 ½ cups granulated sugar
- 1 tbsp lemon juice
- 1 packet (1.75 oz) low-sugar pectin (optional for thicker consistency)
Variations
One of the best things about this Fresh Cherry Jam recipe is how flexible it is! You can easily customize it to suit your taste preferences. Here are some fun variations to try:
- Add some spice: Mix in spices like cinnamon or vanilla extract for an extra layer of flavor.
- Berry blend: Substitute half the cherries with blueberries or raspberries for a unique twist that adds even more fruity goodness.
- Zesty citrus: Experiment with other citrus juices like orange or lime along with lemon for a refreshing tang.
- Less sweet: Reduce the amount of sugar if you prefer a less sweet jam; just be aware that it may affect consistency.
How to Make Fresh Cherry Jam
Step 1: Prepare Your Cherries
Start by washing your cherries thoroughly to remove any dirt or residue. Once clean, remove the stems and pits. This step is crucial because we want only the juicy fruit in our jam!
Step 2: Mash Your Cherries
In a large bowl, mash the pitted cherries until they reach your desired consistency. Whether you like chunky pieces or smooth jam is entirely up to you! Remember, mashing them well helps release their natural juices.
Step 3: Combine Ingredients
In a pot, combine your mashed cherries with sugar, lemon juice, and pectin if you’re using it. Let this mixture sit for about 10 minutes. This waiting period allows the sugar to draw out more juices from the cherries—a key step in achieving that rich flavor!
Step 4: Cook Until Thickened
Cook over medium heat until boiling while stirring frequently. This should take about 10-15 minutes. Keep an eye on it! The bubbling mixture will thicken as it cooks; stirring helps prevent sticking and burning.
Step 5: Test Your Jam
To check if your jam is ready, place a spoonful on a plate and let it cool briefly. If it holds its shape well rather than running off like syrup, congratulations—you’re ready to jar it up!
Step 6: Jar It Up
Pour your freshly made cherry jam into sterilized jars and seal them tightly. Let them cool at room temperature before storing them in the refrigerator. Now you’ve got delightful homemade Fresh Cherry Jam ready to enjoy anytime!
Pro Tips for Making Fresh Cherry Jam
Creating your own fresh cherry jam is a delightful experience, and with these handy tips, you’ll ensure your jam turns out perfectly every time!
Choose ripe cherries: Picking the ripest cherries will ensure that your jam is bursting with flavor and sweetness. Look for deep red, firm fruits to get the best results.
Use fresh ingredients: The fresher your ingredients, the better your jam will taste. Make sure to select high-quality sugar and fresh lemons for optimal flavor.
Adjust sweetness to preference: If you prefer a less sweet jam, feel free to reduce the amount of sugar. Just keep in mind that sugar also helps with preservation, so adjust carefully.
Experiment with flavors: Add spices like cinnamon or vanilla extract to enhance the flavor profile of your jam. This can give it a unique twist that sets it apart from traditional recipes.
Store properly: Make sure to store your jam in sterilized jars and refrigerate it promptly to maintain freshness. Proper sealing will help it last longer and retain its vibrant flavor.
How to Serve Fresh Cherry Jam
Fresh cherry jam isn’t just delicious; it’s versatile too! Here are some creative ways you can enjoy it:
Garnishes
- Fresh mint leaves: A sprig of mint on top of your jam adds a pop of color and a refreshing contrast to the sweetness.
- Chopped nuts: Sprinkling some crushed almonds or walnuts gives a delightful crunch and enhances the overall texture of the dish.
Side Dishes
- Toast: A classic pairing! Spread fresh cherry jam on warm toast for a quick breakfast treat that’s both satisfying and flavorful.
- Yogurt: Swirl this vibrant jam into plain yogurt for a nutritious snack or breakfast option that’s sure to please.
- Cheese platter: Serve alongside creamy cheeses like brie or goat cheese. The sweet-tart flavor of the jam complements the richness of the cheese beautifully.
- Pancakes or waffles: Drizzle over pancakes or waffles for a luxurious brunch option that feels indulgent yet simple.
Enjoying your homemade fresh cherry jam is all about creativity and personal touch. Whether you’re spreading it on breakfast items or incorporating it into desserts, there’s no wrong way to savor this delightful treat!
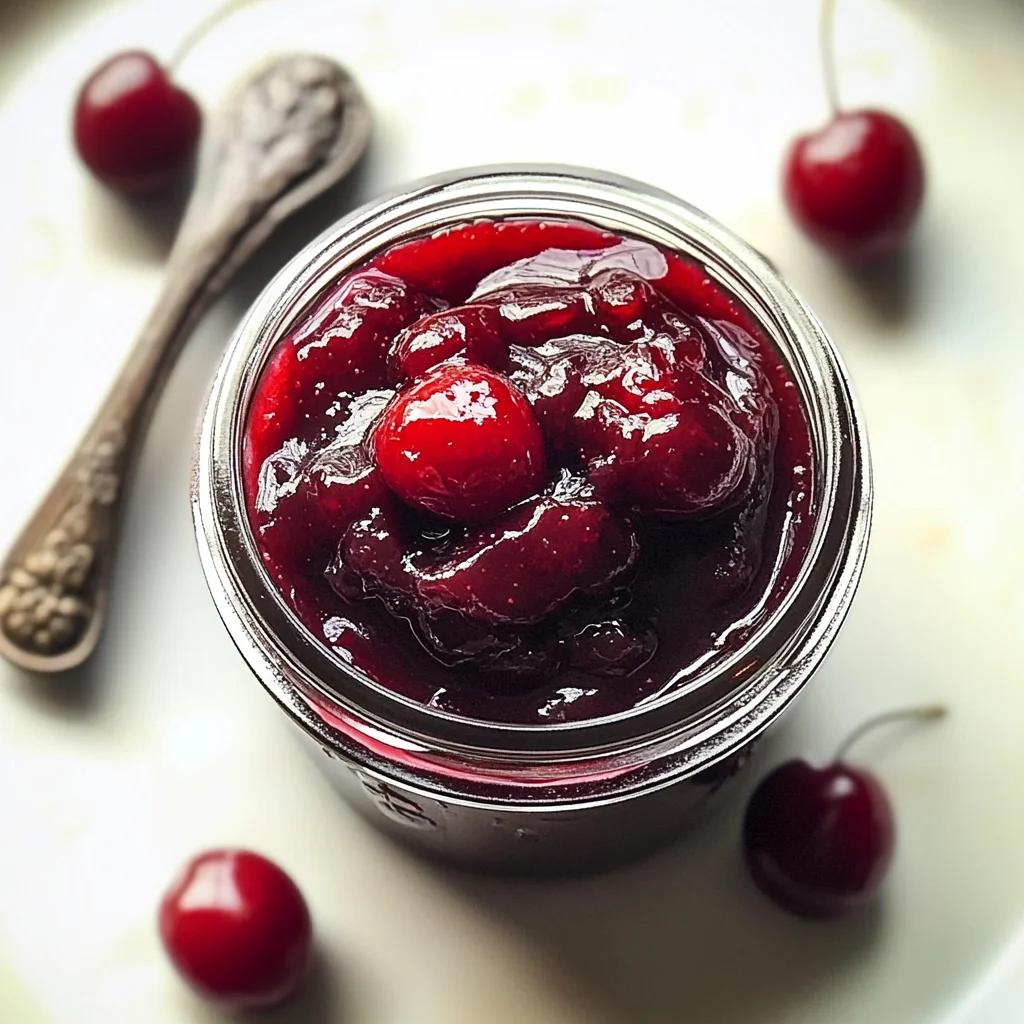
Make Ahead and Storage
This fresh cherry jam is perfect for meal prep, allowing you to enjoy the taste of summer all year round. Whether you’re making it for a special occasion or just to keep on hand for breakfast, proper storage will ensure it stays delicious.
Storing Leftovers
- Allow the jam to cool completely before storing.
- Transfer it to sterilized jars with airtight lids.
- Store in the refrigerator for up to 3 weeks.
- Label jars with the date made for easy tracking.
Freezing
- Pour the cooled jam into freezer-safe containers, leaving some space at the top for expansion.
- Seal tightly and label with the date.
- Freeze for up to 6 months for best quality.
- Thaw overnight in the refrigerator when ready to use.
Reheating
- If the jam has thickened too much after refrigeration, gently reheat it in a saucepan over low heat.
- Stir occasionally until warmed through and spreadable.
- Add a splash of water if necessary to reach desired consistency.
FAQs
Here are some common questions you might have about making fresh cherry jam.
How long does Fresh Cherry Jam last?
When properly stored in an airtight container in the refrigerator, fresh cherry jam can last up to 3 weeks. If frozen, it can maintain its best quality for about 6 months.
Can I make Fresh Cherry Jam without pectin?
Yes! While pectin helps achieve a thicker consistency, you can still make delicious fresh cherry jam without it. Just allow extra cooking time until it reaches your desired thickness.
What should I serve with Fresh Cherry Jam?
Fresh cherry jam pairs beautifully with toast, pancakes, yogurt, or even as a filling in pastries. Its sweet-tart flavor can elevate many dishes!
Can I use other fruits in place of cherries?
Absolutely! You can substitute half of the cherries with blueberries or raspberries for a unique twist on your fresh cherry jam recipe.
Final Thoughts
Making fresh cherry jam is not just about preserving fruit; it’s about capturing the essence of summer and sharing joyful moments with loved ones. I hope this recipe brings a smile to your face as you create your own batch. Enjoy every spoonful and feel free to get creative—happy jamming!
Fruit Spreads
nn
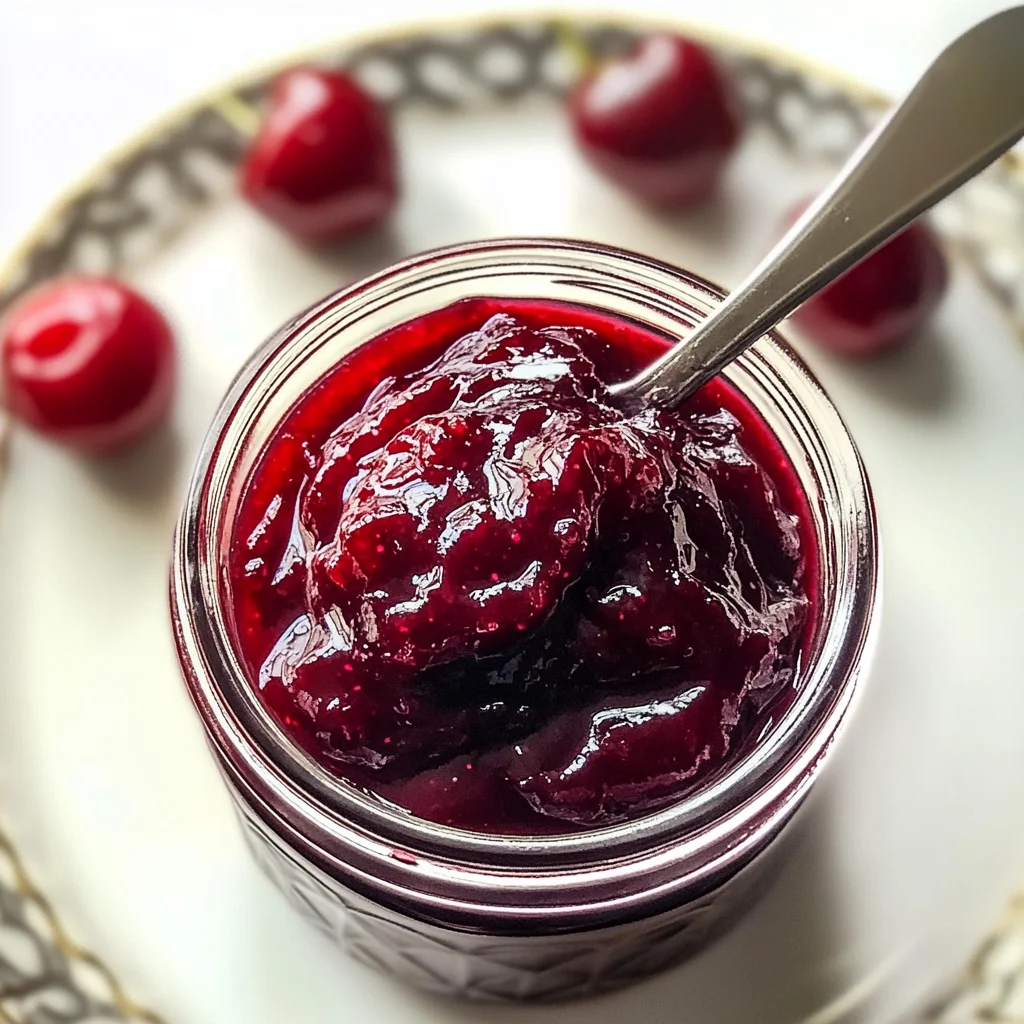
n
Why You’ll Love This Recipe
Fresh cherry jam captures the essence of summer in every spoonful. Its sweet and tart flavor profile makes it incredibly versatile, whether you’re spreading it on warm toast, drizzling it over pancakes, or using it as a filling in your favorite pastries. Plus, making your own jam allows you to control the sweetness and ingredients, ensuring a fresh and wholesome treat.
Ingredients You’ll Need
- 4 cups fresh cherries, pitted and mashed
- 1 ½ cups granulated sugar
- 1 tbsp lemon juice
- 1 packet (1.75 oz) low-sugar pectin (optional for thicker consistency)
Variations
- Spiced Cherry Jam: Add a pinch of cinnamon or a splash of vanilla extract for extra warmth.
- Mixed Berry Jam: Substitute half the cherries with blueberries or raspberries for a delightful twist.
- Herb-Infused Jam: Stir in a few sprigs of fresh mint or basil during cooking, then strain them out for a refreshing herbal note.
How to Make
- Wash cherries thoroughly, then remove stems and pits.
- Mash the cherries in a large bowl until desired consistency is reached.
- In a pot, combine mashed cherries with sugar, lemon juice, and pectin (if using). Let sit for 10 minutes.
- Cook over medium heat until boiling, stirring frequently for about 10-15 minutes until thickened.
- Test the jam by placing a spoonful on a plate; if it holds its shape after cooling briefly, it’s ready to jar.
- Pour into sterilized jars and seal tightly; let cool at room temperature before refrigerating.
Pro Tips
- Use Ripe Cherries: The riper the cherries, the sweeter your jam will be.
- Sterilizing Jars: To sterilize jars, place them in boiling water for 10 minutes or run them through a dishwasher cycle.
- Adjust Sweetness: Feel free to adjust the amount of sugar based on your taste preference and the natural sweetness of the cherries.
How to Serve
Serve your fresh cherry jam on warm toast, as a topping for yogurt or oatmeal, or as a filling in pastries and desserts. It also pairs beautifully with cheese, making it a great addition to a charcuterie board.
Make Ahead and Storage
- Make Ahead: You can prepare this jam up to a week in advance.
- Storage: Store your cherry jam in the refrigerator for up to 3 weeks. For longer storage, consider canning it or freezing it in airtight containers for up to 6 months.
FAQs
- Can I use frozen cherries? Yes, you can use frozen cherries, but make sure to thaw and drain excess liquid before mashing.
- What if my jam isn’t thick enough? If your jam is too runny, you can return it to the pot and simmer it for a bit longer to thicken.
- Can I reduce the sugar? Yes, you can reduce the sugar, but it may affect the preservation and texture of the jam.
Final Thoughts
Making fresh cherry jam is a delightful way to enjoy the flavors of summer all year round. With just a few simple ingredients and steps, you can create a delicious treat that will brighten up your breakfast, snacks, and desserts. Enjoy every spoonful!
Fresh Cherry Jam
Fresh Cherry Jam is a delightful, homemade treat that captures the essence of summer in every jar. Made from ripe, juicy cherries, this vibrant jam balances sweet and tart flavors, making it perfect for spreading on warm toast, swirling into yogurt, or drizzling over pancakes. The simple recipe requires minimal ingredients, allowing you to enjoy the luscious taste of fresh cherries year-round. Plus, it’s a fun project for the whole family! With just a few easy steps, you can fill your kitchen with the heavenly aroma of cooking cherries and create a flavorful spread that will elevate any meal.
- Prep Time: 15 minutes
- Cook Time: 15 minutes
- Total Time: 30 minutes
- Yield: Approximately 16 servings (16 tablespoons) 1x
- Category: Dessert
- Method: Cooking
- Cuisine: American
Ingredients
- 4 cups fresh cherries, pitted and mashed
- 1 ½ cups granulated sugar
- 1 tbsp lemon juice
- 1 packet (1.75 oz) low-sugar pectin (optional)
Instructions
- Wash the cherries thoroughly; remove stems and pits.
- Mash the cherries in a large bowl until you reach your desired consistency.
- In a pot, combine mashed cherries with sugar, lemon juice, and pectin (if using). Let sit for 10 minutes to draw out juices.
- Cook over medium heat until boiling, stirring frequently for about 10-15 minutes until thickened.
- Test jam by placing a spoonful on a plate; if it holds its shape after cooling briefly, it’s ready to jar.
- Pour into sterilized jars; seal tightly and cool at room temperature before refrigerating.
Nutrition
- Serving Size: 1 tablespoon (20g)
- Calories: 50
- Sugar: 12g
- Sodium: 0mg
- Fat: 0g
- Saturated Fat: 0g
- Unsaturated Fat: 0g
- Trans Fat: 0g
- Carbohydrates: 13g
- Fiber: <1g
- Protein: <1g
- Cholesterol: 0mg

Leave a Comment