If you’re looking for a delightful treat that captures the spirit of spring, then this No-Bake Easter Fudge is just what you need! It’s creamy, chocolatey, and so easy to whip up—perfect for those busy holiday preparations or family gatherings. This recipe holds a special place in my heart because it brings everyone together around the dessert table, sharing smiles and sweet bites. Plus, you’ll love how quickly it comes together without needing to turn on the oven!
Whether you’re hosting an Easter brunch or simply craving something sweet, this fudge is sure to impress both kids and adults alike. The best part? You can customize it with your favorite mix-ins, making each batch uniquely yours. So grab your apron, and let’s make some memories with this fun and festive treat!
Why You’ll Love This Recipe
- No baking required: Enjoy the simplicity of creating a delicious dessert without turning on the oven.
- Quick preparation: With only 15 minutes of prep time, you can have this fudge ready in no time!
- Family-friendly appeal: Kids love helping out in the kitchen; they’ll have a blast adding sprinkles and mix-ins.
- Versatile flavors: Switch things up by using different types of chocolate or adding crunchy toppings like nuts.
- Make-ahead goodness: Prepare it ahead of time for stress-free entertaining—just chill and serve when ready!
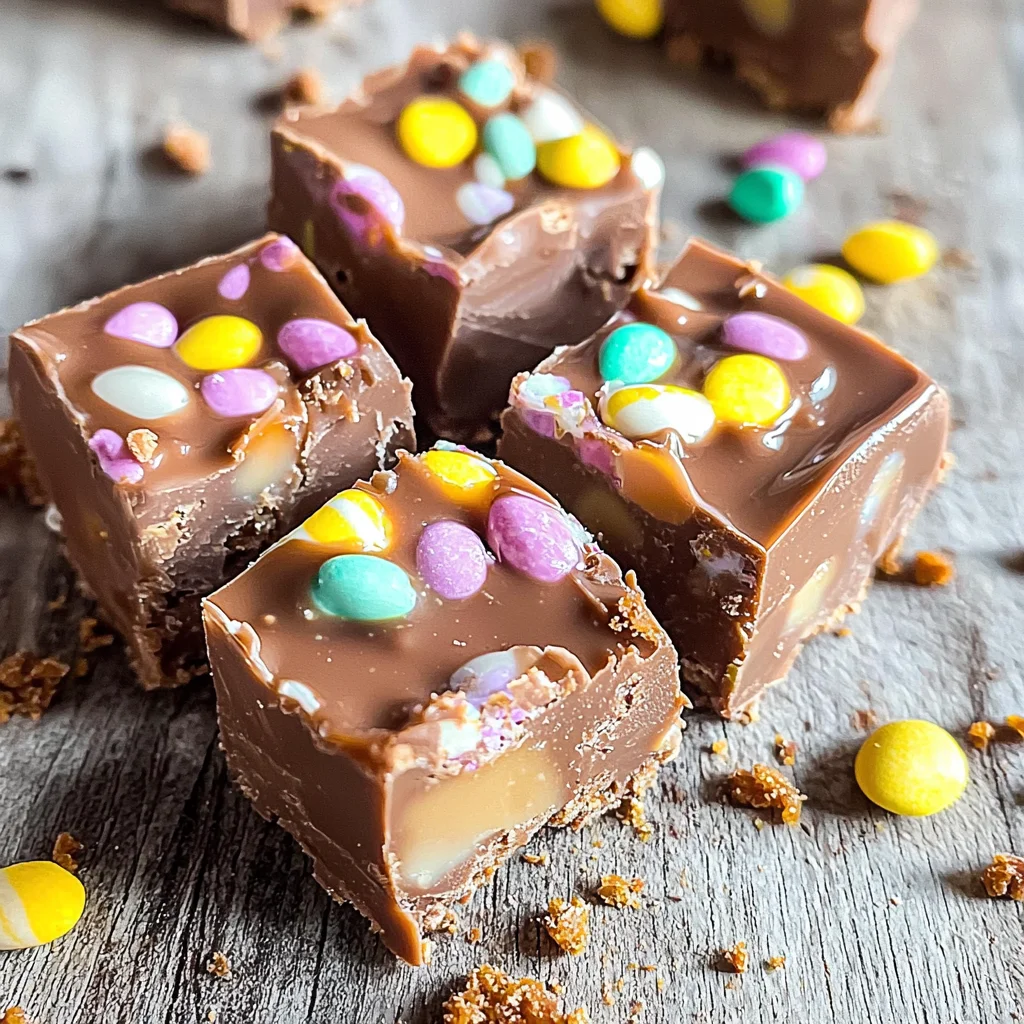
Ingredients You’ll Need
Creating No-Bake Easter Fudge is all about using simple, wholesome ingredients that you probably already have on hand. Let’s gather everything we need to bring this delightful treat to life!
- 2 cups semi-sweet or milk chocolate chips
- 1 can (14 oz) sweetened condensed milk
- 4 tablespoons unsalted butter
- 2 teaspoons pure vanilla extract
- Colorful sprinkles
Variations
One of the best things about this fudge is its flexibility! You can easily adjust the ingredients to suit your taste or dietary preferences. Here are some fun variations to consider:
- Swap the chocolate: Experiment with dark or white chocolate chips for a different flavor profile.
- Add some crunch: Mix in crushed pretzels or nuts for an exciting texture contrast.
- Go fruity: Toss in some mini marshmallows or chopped dried fruit for added sweetness.
- Make it festive: Use seasonal sprinkles or themed toppings to match any occasion!
How to Make No-Bake Easter Fudge
Step 1: Prepare Your Baking Dish
Start by gathering all your ingredients and lining an 8×8-inch baking dish with parchment paper. This step is essential as it will help you easily lift out the fudge once it’s set.
Step 2: Melt Chocolate and Butter
In a saucepan over low heat, melt the chocolate chips and butter together until smooth. Stir occasionally to ensure nothing sticks to the bottom. Melting them gently allows the chocolate to retain its glossy finish.
Step 3: Combine Ingredients
Once melted, remove from heat and stir in the sweetened condensed milk and vanilla extract. Mixing these ingredients well creates that rich, creamy texture we love in fudge.
Step 4: Pour into Dish
Pour the mixture into your prepared baking dish and spread it evenly with a spatula. This ensures that every piece of fudge has that perfect creamy consistency.
Step 5: Add Sprinkles
While still warm, sprinkle colorful sprinkles generously on top. Not only does this add visual appeal, but it also gives a fun crunch when you bite into each piece!
Step 6: Refrigerate
Refrigerate for at least 2 hours until firm before cutting into squares. This step is crucial—it allows everything to set properly so you can enjoy perfectly cut pieces that hold their shape.
Now you’re ready to indulge in your homemade No-Bake Easter Fudge! Enjoy sharing this treat with family and friends during your festive celebrations!
Pro Tips for Making No-Bake Easter Fudge
Making No-Bake Easter Fudge is a delightful experience, and these tips will ensure it turns out perfectly every time!
- Use high-quality chocolate: The better the chocolate, the richer the fudge will taste. Look for brands with a high cocoa content for maximum flavor.
- Don’t rush the melting process: Melting chocolate over low heat helps prevent burning. Take your time to achieve that smooth, creamy texture that makes fudge irresistible.
- Cool before adding sprinkles: Allow the fudge to cool slightly before adding sprinkles to avoid them melting into the mixture. This keeps them vibrant and colorful!
- Cut with a hot knife: For clean and tidy squares, dip your knife in hot water before cutting. Wipe it dry and slice through for a perfect finish.
- Experiment with flavors: Don’t be afraid to mix in different extracts or spices, like peppermint or almond, to create a unique twist on the classic fudge.
How to Serve No-Bake Easter Fudge
Presenting your No-Bake Easter Fudge in an appealing way can elevate its enjoyment. Here are some fun ideas on how to serve it!
Garnishes
- Fresh berries: Add a pop of color and freshness by placing strawberries or raspberries alongside each square of fudge.
- Whipped cream: A dollop of whipped cream on top adds creaminess and makes for a delightful contrast against the rich fudge.
- Mint leaves: A few fresh mint leaves not only add an attractive touch but also introduce a refreshing flavor that complements the sweetness.
Side Dishes
- Fruit salad: A light fruit salad made with seasonal fruits offers a refreshing balance to the rich fudge. It’s colorful and adds a healthy touch!
- Vanilla ice cream: Serve warm pieces of fudge over creamy vanilla ice cream for an indulgent dessert experience that’s hard to resist.
- Coffee or tea: Pairing your fudge with a warm cup of coffee or herbal tea enhances the overall experience, providing a comforting balance.
- Cheese platter: For an unexpected twist, serve with a selection of mild cheeses. The savory flavor contrasts nicely with the sweetness of the fudge.
Make Ahead and Storage
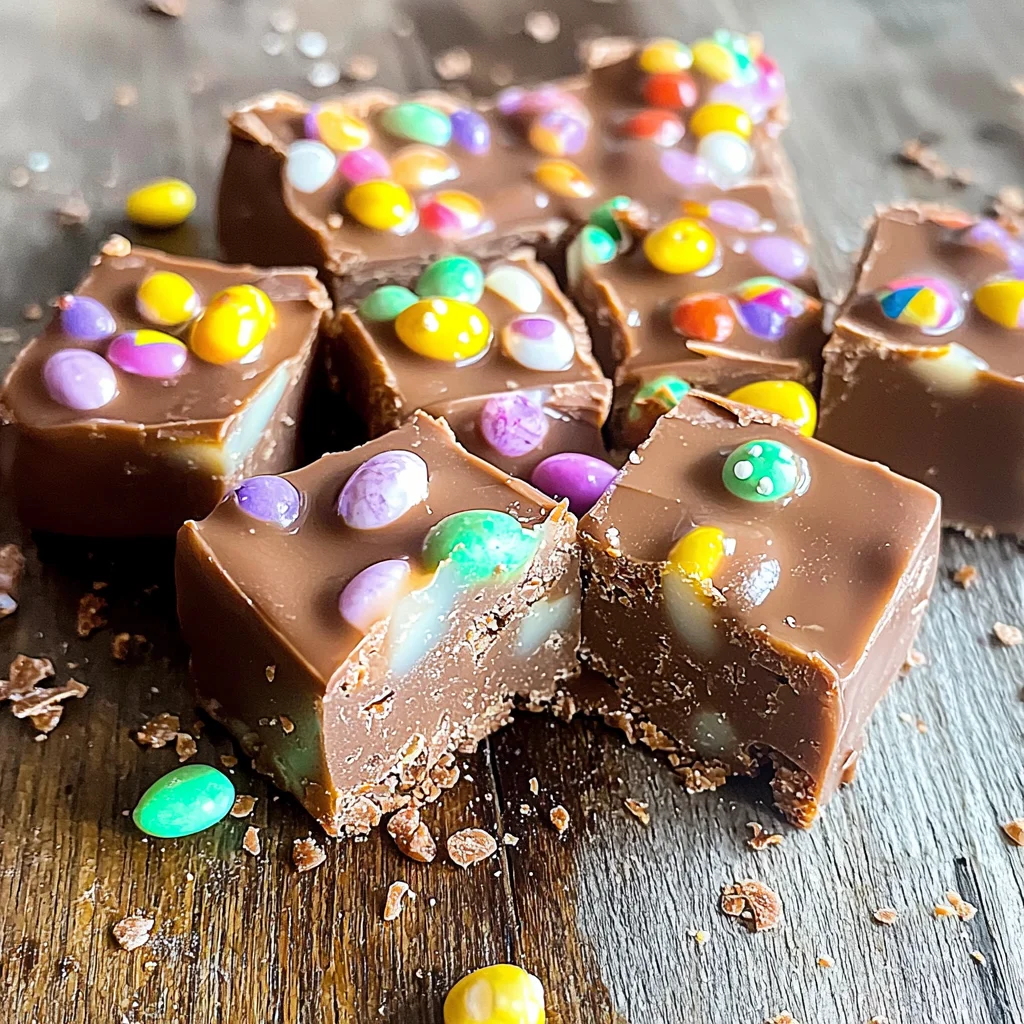
This No-Bake Easter Fudge is perfect for meal prep and can easily be made ahead of time, making it an ideal treat for busy holiday celebrations or gatherings.
Storing Leftovers
- Store leftover fudge in an airtight container.
- Keep it refrigerated to maintain freshness.
- Enjoy the fudge within two weeks for the best taste.
Freezing
- Cut the fudge into squares before freezing for convenience.
- Place pieces in a single layer on a baking sheet and freeze until solid.
- Transfer frozen pieces to a freezer-safe bag or container, separating layers with parchment paper.
- Consume within three months for optimal flavor.
Reheating
- There’s no need to reheat No-Bake Easter Fudge, as it’s best enjoyed chilled.
- If you prefer a softer texture, let it sit at room temperature for about 10 minutes before serving.
FAQs
Can I customize my No-Bake Easter Fudge?
Absolutely! You can add various mix-ins such as nuts or candies to create your perfect version of No-Bake Easter Fudge. Experiment with flavors like dark chocolate or even white chocolate chips!
How long does No-Bake Easter Fudge last?
When stored properly in an airtight container in the fridge, your No-Bake Easter Fudge will last up to two weeks. If you choose to freeze it, it can last up to three months.
What should I do if my fudge is too soft?
If your No-Bake Easter Fudge turns out too soft, ensure that you’ve let it chill in the refrigerator long enough. If it’s still too soft after chilling, consider adding a bit more chocolate or letting it set longer.
Can I use vegan ingredients in this recipe?
Yes! To make vegan No-Bake Easter Fudge, substitute regular butter with a plant-based butter and use dairy-free chocolate chips.
Final Thoughts
I hope you enjoy making this delightful No-Bake Easter Fudge as much as I do! It’s not just a treat; it’s a way to create sweet memories with family and friends during the holiday season. Don’t hesitate to add your personal touch to this recipe — happy indulging!
No-Bake Easter Fudge
If you’re searching for a delightful springtime treat, look no further than this No-Bake Easter Fudge! This creamy, chocolatey dessert is a breeze to prepare, making it a perfect addition to your holiday celebrations or family gatherings. With just 15 minutes of prep time and no need for baking, you can whip up this festive fudge in no time. Plus, it offers endless customization options—add your favorite mix-ins or sprinkles to create a uniquely delicious treat that everyone will love. Whether for an Easter brunch or a sweet craving, this fudge is sure to become a cherished favorite.
- Prep Time: 15 minutes
- Cook Time: None
- Total Time: 0 hours
- Yield: Approximately 16 servings 1x
- Category: Dessert
- Method: No-bake
- Cuisine: American
Ingredients
- 2 cups semi-sweet or milk chocolate chips
- 1 can (14 oz) sweetened condensed milk
- 4 tablespoons unsalted butter
- 2 teaspoons pure vanilla extract
- Colorful sprinkles
Instructions
- Prepare an 8×8-inch baking dish by lining it with parchment paper.
- In a saucepan over low heat, melt the chocolate chips and butter until smooth, stirring occasionally.
- Remove from heat and stir in the sweetened condensed milk and vanilla extract until well combined.
- Pour the mixture into the prepared baking dish and spread evenly.
- While warm, sprinkle colorful sprinkles on top.
- Refrigerate for at least 2 hours until firm before cutting into squares.
Nutrition
- Serving Size: 1 square (24g)
- Calories: 100
- Sugar: 9g
- Sodium: 30mg
- Fat: 6g
- Saturated Fat: 3g
- Unsaturated Fat: 3g
- Trans Fat: 0g
- Carbohydrates: 10g
- Fiber: <1g
- Protein: 1g
- Cholesterol: 15mg

Leave a Comment