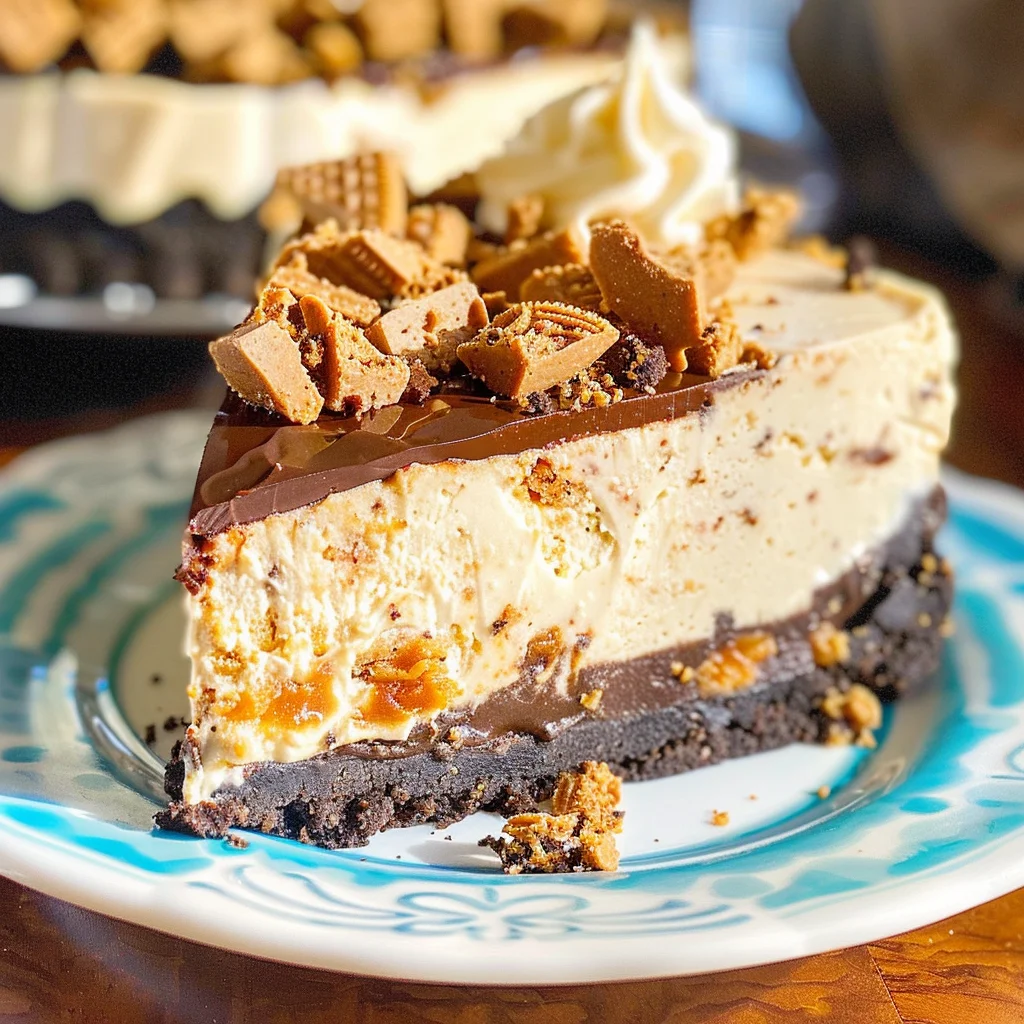
If you’re looking for a show-stopping dessert that combines creamy peanut butter goodness with the crunch of chocolate, then this Butterfinger Cheesecake is just what you need! It’s one of those recipes that never fails to impress at family gatherings or cozy get-togethers with friends. The thick, rich cheesecake is loaded with chopped Butterfingers and nestled in a chocolate Oreo crust, making it an irresistible treat.
What makes this Butterfinger Cheesecake even more special is how easy it is to prepare. With just a little bit of time and love, you can create a dessert that feels like a celebration every day. Whether it’s for a birthday party or just because it’s Tuesday, this cheesecake has you covered!
Why You’ll Love This Recipe
- Decadent Flavor: The combination of peanut butter and Butterfinger candies creates an indulgent flavor explosion.
- Family-Friendly Appeal: Kids and adults alike will be reaching for seconds when they taste this delightful cheesecake.
- Make-Ahead Convenience: You can prepare this cheesecake ahead of time, freeing up your day for other fun activities.
- Stunning Presentation: Topped with chocolate ganache and whipped cream, it looks as good as it tastes—perfect for impressing guests!
- Versatile Treat: Great for any occasion, from casual dinners to festive celebrations.
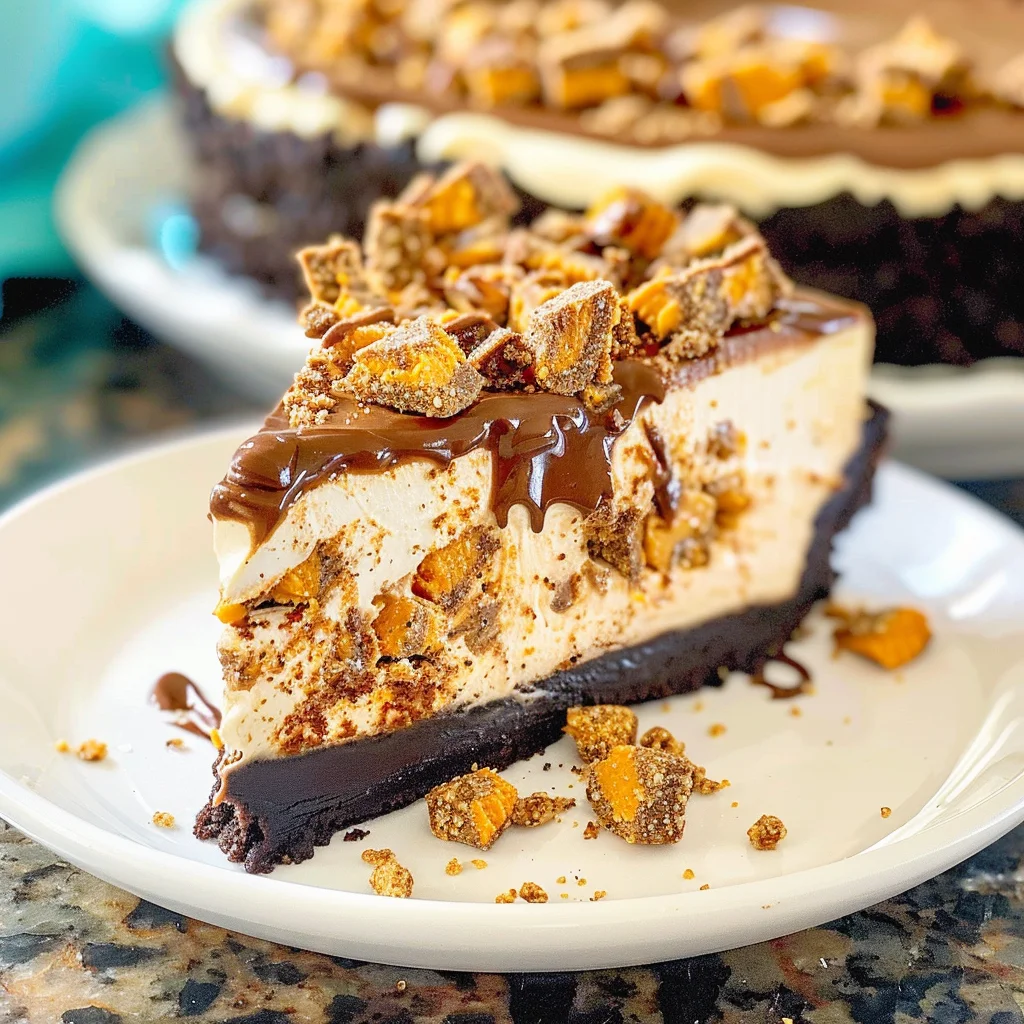
Ingredients You’ll Need
The ingredients for this Butterfinger Cheesecake are simple yet wholesome, making it easy to whip up. Gather these delicious components before diving into the magical world of cheesecake-making!
For the Crust
- 2 1/4 cups (302g) Oreo crumbs
- 4 tbsp (56g) salted butter, melted
For the Cheesecake Filling
- 24 ounces (678g) cream cheese, room temperature
- 1 cup (207g) sugar
- 3 tbsp (24g) all-purpose flour
- 3/4 cup (173g) sour cream, room temperature
- 1/2 cup (140g) peanut butter
- 1 tsp vanilla extract
- 4 large eggs, room temperature
- 1 1/2 cups (12 fun-sized bars) chopped Butterfingers
For the Toppings
- 6 oz semi-sweet chocolate chips
- 1/2 cup heavy whipping cream
- 3/4 cup heavy whipping cream
- 1/2 cup (58g) powdered sugar
- 2 tbsp (35g) peanut butter
- 1/4 tsp vanilla extract
- Chopped Butterfingers
Variations
One of the best parts about this recipe is its flexibility! Feel free to experiment and make it your own with these fun variations:
- Go Vegan: Substitute cream cheese with a plant-based alternative and use coconut cream instead of heavy whipping cream for a vegan-friendly option.
- Add More Crunch: Toss in some crushed nuts or extra candy bars into the filling for added texture and flavor!
- Gluten-Free Twist: Use gluten-free cookie crumbs in place of regular Oreos to make this dessert suitable for everyone.
- Flavor Swap: Try adding different flavored extracts like almond or hazelnut for a unique twist on the classic peanut butter flavor.
How to Make Butterfinger Cheesecake
Step 1: Prepare the Crust
Start by preheating your oven to 350°F (175°C). In a mixing bowl, combine the Oreo crumbs with melted butter until well-mixed. This mixture will form the base of your cheesecake and give it that delicious chocolatey crunch. Press firmly into the bottom of a springform pan and bake for about 10 minutes. Let it cool while you prepare the filling.
Step 2: Make the Filling
In another large bowl, beat together the softened cream cheese and sugar until smooth and creamy. This step is crucial because it ensures there are no lumps in your cheesecake. Add in flour, sour cream, peanut butter, and vanilla extract. Mix until fully combined. Then add eggs one at a time, mixing gently after each addition to keep that lovely airy texture intact.
Step 3: Fold in Butterfingers
Gently fold in the chopped Butterfingers into your cheesecake mixture. This will distribute those crunchy bites throughout your filling. Pour this mixture over your cooled crust in the springform pan.
Step 4: Bake Your Cheesecake
Bake at 350°F (175°C) for about an hour or until the center is set but still slightly wobbly. It’s important not to overbake; you want that creamy texture! Once done, turn off the oven and let it cool inside with the door ajar—this helps prevent cracking on top.
Step 5: Chill Before Serving
Once cooled to room temperature, refrigerate your cheesecake for at least four hours or overnight if possible. Chilling allows all those flavors to meld beautifully together.
Step 6: Prepare Toppings
Before serving, make your toppings by melting semi-sweet chocolate chips with heavy whipping cream until smooth. Whip together remaining heavy whipping cream with powdered sugar until soft peaks form—then fold in peanut butter and vanilla extract.
Step 7: Assemble and Enjoy!
Spread that luscious whipped topping over your chilled cheesecake followed by drizzling warm chocolate ganache on top. Finish off with extra chopped Butterfingers for that stunning presentation. Slice yourself a piece and enjoy every bite of this delightful Butterfinger Cheesecake!
Pro Tips for Making Butterfinger Cheesecake
Creating the perfect Butterfinger Cheesecake can be a delightful adventure! Here are some tips to ensure your cheesecake turns out wonderfully every time.
Use room temperature ingredients: Letting your cream cheese and eggs come to room temperature helps achieve a smoother batter, which results in a creamier texture once baked.
Don’t overmix: Mix the cheesecake batter just until combined to avoid incorporating too much air, which can lead to cracks on the surface during baking.
Bake in a water bath: Using a water bath while baking helps maintain an even temperature and prevents the cheesecake from cracking by providing moisture in the oven.
Cool gradually: After baking, let your cheesecake cool slowly at room temperature before refrigerating. This gradual cooling process helps prevent cracks and keeps it from sinking.
Chill overnight: For the best flavor and texture, let your cheesecake chill in the fridge overnight. This allows the flavors to meld beautifully and sets the cheesecake perfectly.
How to Serve Butterfinger Cheesecake
Presenting your Butterfinger Cheesecake is just as important as making it! Here are some ideas to make your dessert even more inviting.
Garnishes
- Whipped Cream: A dollop of freshly whipped cream on top adds a light, airy touch that complements the richness of the cheesecake.
- Chocolate Drizzle: A drizzle of melted chocolate or chocolate sauce over the top makes for an extra indulgent presentation.
- Chopped Nuts: Sprinkling some crushed peanut brittle or salted peanuts can add a crunchy texture that enhances each bite.
Side Dishes
- Fresh Berries: Serve with a side of mixed berries, such as strawberries and raspberries, for a refreshing contrast that balances out the sweetness of the cheesecake.
- Ice Cream: A scoop of vanilla or chocolate ice cream pairs perfectly with this dessert, providing a creamy accompaniment that elevates each slice.
- Fruit Compote: A warm fruit compote made from berries or stone fruits adds a tangy sweetness that complements the rich flavors of the cheesecake.
- Coffee or Espresso: A cup of coffee or espresso enhances dessert time and provides a delightful balance to the sweetness of your Butterfinger Cheesecake.
Make Ahead and Storage
This Butterfinger Cheesecake is perfect for meal prep, allowing you to enjoy its deliciousness over several days. Whether you’re planning for a special occasion or just want to savor it at your leisure, here’s how to store and keep it fresh.
Storing Leftovers
- Store any leftover cheesecake in an airtight container in the refrigerator.
- It will stay fresh for up to 5 days.
- Cover the top with plastic wrap if you’re not using a container to prevent it from drying out.
Freezing
- Wrap the cheesecake tightly in plastic wrap, then aluminum foil for extra protection.
- You can freeze it for up to 2-3 months.
- Thaw it overnight in the refrigerator before serving.
Reheating
- If you prefer a warm slice, microwave individual pieces on low power (10-second intervals) until just warmed through.
- Avoid heating the entire cheesecake, as it can affect the texture.
FAQs
Have some questions? Here are some common ones about Butterfinger Cheesecake that might help!
Can I make Butterfinger Cheesecake ahead of time?
Absolutely! This recipe is ideal for making ahead. Just follow the storage instructions above to keep it fresh.
How long does Butterfinger Cheesecake last?
When stored properly in the fridge, Butterfinger Cheesecake will last about 5 days. If frozen, it can last up to 3 months!
Can I use other candy bars instead of Butterfingers?
Yes, you can substitute other candy bars that mix well with peanut butter and chocolate. Just make sure they complement the flavors!
Is there a way to make this recipe gluten-free?
You can use gluten-free Oreo cookies or another gluten-free cookie alternative for the crust to make this Butterfinger Cheesecake gluten-free.
Final Thoughts
Making this Butterfinger Cheesecake is not only rewarding but also a delightful treat that brings joy to any gathering. I hope you enjoy making this scrumptious dessert as much as I do! It’s perfect for sharing with loved ones or indulging in a quiet moment by yourself. Don’t hesitate to try it out and let those flavors surprise you!
Butterfinger Cheesecake
Indulge in the rich and creamy delight of Butterfinger Cheesecake, a perfect dessert for any occasion! This show-stopping treat combines the lusciousness of cream cheese and peanut butter with crunchy Butterfinger pieces, all nestled in a chocolate Oreo crust.
- Prep Time: 30 minutes
- Cook Time: 60 minutes
- Total Time: 1 hour 30 minutes
- Yield: Serves approximately 12 slices 1x
- Category: Dessert
- Method: Baking
- Cuisine: American
Ingredients
- 2 1/4 cups Oreo crumbs
- 4 tbsp salted butter, melted
- 24 ounces cream cheese, room temperature
- 1 cup sugar
- 3 tbsp all-purpose flour
- 3/4 cup sour cream, room temperature
- 1/2 cup peanut butter
- 4 large eggs, room temperature
- 1 1/2 cups chopped Butterfingers
- 6 oz semi-sweet chocolate chips
- 1/2 cup heavy whipping cream
- 3/4 cup heavy whipping cream
- 1/2 cup powdered sugar
- 2 tbsp peanut butter
- 1/4 tsp vanilla extract
- Chopped Butterfingers
Instructions
- Preheat your oven to 350°F (175°C). Combine Oreo crumbs and melted butter; press into a springform pan.
- Bake crust for 10 minutes; let cool.
- Beat cream cheese and sugar until smooth. Add flour, sour cream, peanut butter, and vanilla; mix well. Incorporate eggs one at a time.
- Fold in chopped Butterfingers. Pour mixture over cooled crust.
- Bake for about an hour until center is set but slightly wobbly. Cool in the oven with door ajar.
- Chill for at least four hours or overnight before serving.
- Prepare toppings by melting chocolate chips with heavy cream; whip remaining cream with powdered sugar and peanut butter.
- Top chilled cheesecake with whipped cream and chocolate ganache before serving.
Nutrition
- Serving Size: 1 slice (100g)
- Calories: 355
- Sugar: 26g
- Sodium: 320mg
- Fat: 25g
- Saturated Fat: 12g
- Unsaturated Fat: 13g
- Trans Fat: 0g
- Carbohydrates: 29g
- Fiber: 1g
- Protein: 5g
- Cholesterol: 75mg


Leave a Comment