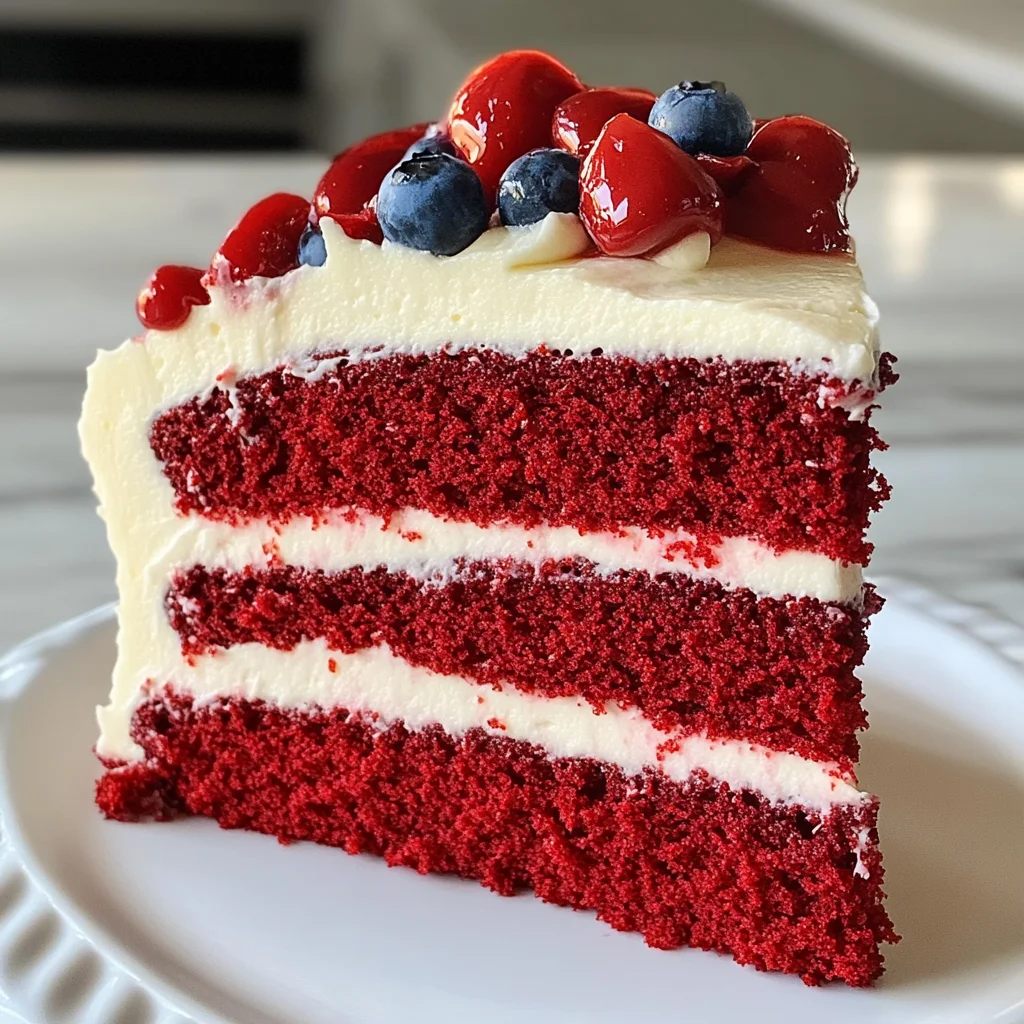
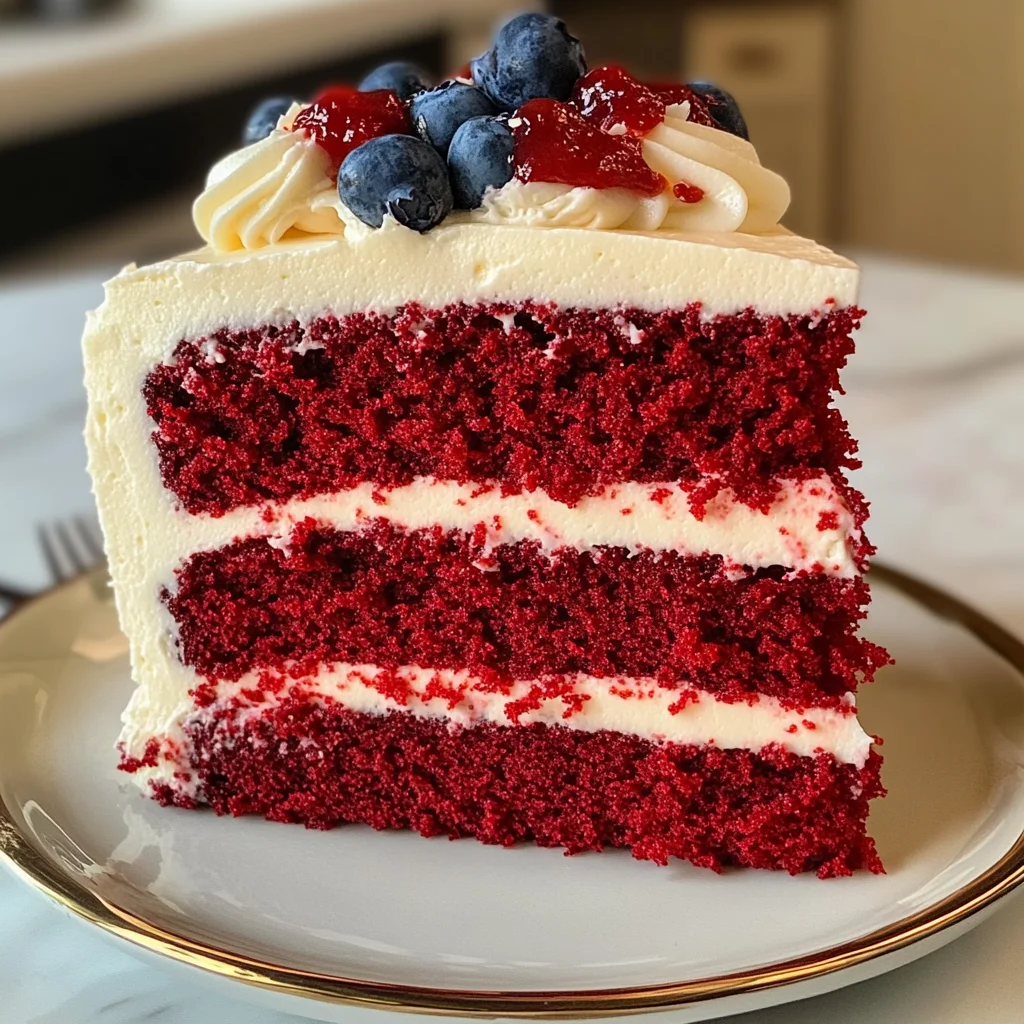
If you’re looking for a show-stopping dessert that will impress your family and friends, look no further than this Juneteenth Red Velvet Cake. It’s not just a cake; it’s a celebration of culture, history, and togetherness. The vibrant red color and rich chocolate flavor make it perfect for special occasions like Juneteenth or any gathering where you want to create sweet memories. Trust me, once you slice into this beauty, everyone will want to know your secret!
This recipe holds a special place in my heart because it combines simple ingredients with heartfelt tradition, making it a beloved treat in many homes. Whether it’s a busy weeknight or a festive family gathering, this cake is sure to bring smiles to everyone’s faces.
Why You’ll Love This Recipe
- Easy to Make: With straightforward steps, even beginner bakers can whip this up with confidence.
- Family-Friendly: Kids and adults alike love the sweet taste and beautiful color—perfect for all ages!
- Delicious Flavor: The combination of chocolate and tangy cream cheese frosting creates an irresistible taste sensation.
- Make-Ahead Option: Bake it a day in advance for stress-free entertaining—just frost before serving!
- Versatile for Occasions: Whether it’s Juneteenth or a birthday party, this cake fits right in at any celebration.
Ingredients You’ll Need
You’ll find that the ingredients for this Juneteenth Red Velvet Cake are simple and wholesome. They come together beautifully to create a moist and flavorful cake that will have everyone coming back for seconds!
For the Cake
- 2 ½ cups all-purpose flour
- 1 cup granulated sugar
- 1 cup vegetable oil
- 1 cup buttermilk
- 2 large eggs
- 3 tablespoons cocoa powder
- 1 teaspoon baking soda
- 1 teaspoon white vinegar
- 2 teaspoons vanilla extract
- 1 tablespoon red food coloring
- Pinch of salt
Variations
One of the best things about this recipe is its flexibility! Feel free to get creative with these fun variations:
- Add some texture: Toss in some chocolate chips for extra sweetness and crunch.
- Yogurt swap: If you’re out of buttermilk, plain yogurt works wonderfully as a substitute.
- Flavor twist: Experiment with different extracts like almond or lemon to give your cake a unique flavor profile.
- Decorate differently: Top your cake with fresh berries or nuts instead of frosting for a lighter option.
How to Make Juneteenth Red Velvet Cake
Step 1: Preheat Your Oven
Preheat your oven to 350°F (175°C) and grease two round cake pans. This step ensures that your cakes bake evenly without sticking, making it easy to remove them once they’re done.
Step 2: Mix the Dry Ingredients
In a bowl, whisk together the flour, cocoa powder, baking soda, and salt. This helps distribute the leavening agents evenly throughout the flour so that your cake rises perfectly.
Step 3: Combine the Wet Ingredients
In another bowl, mix together the sugar, vegetable oil, buttermilk, eggs, food coloring, vinegar, and vanilla extract until smooth. Each ingredient plays an essential role; for example, vinegar reacts with baking soda to help the cake rise while adding moisture.
Step 4: Combine Wet and Dry Ingredients
Gradually add the dry mixture into the wet ingredients until just combined; be careful not to overmix! Overmixing can lead to dense cakes rather than light and fluffy ones—nobody wants that!
Step 5: Bake the Cakes
Divide the batter between your prepared pans and bake for 25-30 minutes or until a toothpick inserted in the center comes out clean. The aroma of baking will fill your kitchen—get ready to share deliciousness!
Step 6: Cool and Frost
Allow the cakes to cool completely before frosting generously with cream cheese frosting. Cooling is crucial as hot cakes can melt frosting—less mess means more enjoyment when you finally serve up those slices!
And there you have it—a stunning Juneteenth Red Velvet Cake that’s sure to delight everyone around your table! Enjoy every bite!
Pro Tips for Making Juneteenth Red Velvet Cake
Baking this Juneteenth Red Velvet Cake is a joyful experience, and with these tips, you’ll ensure it turns out perfectly every time!
Use room temperature ingredients: Bringing your eggs and buttermilk to room temperature helps the batter mix more easily, resulting in a lighter and fluffier cake.
Don’t skip the vinegar: The addition of white vinegar interacts with the baking soda to create a tender crumb while also enhancing the vibrant red color of the cake.
Measure flour correctly: To avoid a dense cake, spoon flour into your measuring cup and level it off instead of scooping directly from the bag. This prevents overpacking.
Check for doneness: Ovens can vary, so start checking your cakes at 25 minutes using a toothpick. It should come out clean or with just a few moist crumbs attached.
Let it cool completely before frosting: If you frost while warm, the icing may melt and slide off. Allowing the cake to cool ensures a beautiful, well-set frosting layer.
How to Serve Juneteenth Red Velvet Cake
When it comes to serving your Juneteenth Red Velvet Cake, presentation is key! You can create an inviting dessert table that celebrates not only the flavors but also the occasion itself.
Garnishes
- Fresh berries: A handful of strawberries or raspberries on top adds a pop of color and freshness that complements the rich cake beautifully.
- Mint leaves: A few sprigs of fresh mint can brighten up your dessert plate and add an aromatic touch that enhances the overall flavor experience.
- Chocolate shavings: A sprinkle of dark chocolate shavings lends an elegant finish and extra chocolate flavor that pairs wonderfully with red velvet.
Side Dishes
- Vanilla ice cream: A scoop of creamy vanilla ice cream serves as a delightful contrast to the richness of the cake, providing a cooling effect that balances every bite.
- Fruit salad: A light fruit salad made with seasonal fruits brings a refreshing contrast that cuts through the sweetness of the cake, making for a perfect accompaniment.
- Whipped coconut cream: For those looking for a dairy-free option, whipped coconut cream not only complements red velvet’s flavors but also adds a luscious texture.
- Coffee or tea: Offering brewed coffee or herbal tea alongside slices of cake enhances the experience by introducing warmth and depth to this already decadent dessert.
With these serving suggestions and pro tips in mind, your Juneteenth Red Velvet Cake will surely be a hit at any gathering! Enjoy celebrating heritage with every delicious slice!
Make Ahead and Storage
This Juneteenth Red Velvet Cake is perfect for meal prep, allowing you to enjoy a delicious dessert without the last-minute rush. Here’s how to keep your cake fresh and tasty.
Storing Leftovers
- Store leftover cake in an airtight container at room temperature for up to three days.
- If you prefer, refrigerate the cake in a sealed container to extend its freshness for about a week.
- Keep the frosting separate until you’re ready to serve if possible, to maintain the cake’s texture.
Freezing
- Wrap slices of the cooled cake tightly in plastic wrap or aluminum foil.
- Place wrapped slices in a freezer-safe bag or container.
- Freeze for up to 3 months; label with the date for reference.
Reheating
- Thaw frozen slices overnight in the refrigerator before enjoying.
- For a warm slice, microwave on low power for 10-15 seconds.
- Alternatively, you can reheat slices in a toaster oven at a low temperature until warmed through.
FAQs
Here are some common questions about making Juneteenth Red Velvet Cake.
Can I use yogurt instead of buttermilk in the Juneteenth Red Velvet Cake?
Absolutely! You can swap buttermilk with plain yogurt for a similar tangy flavor and moisture. Just use an equal amount of yogurt as you would buttermilk.
What makes this Juneteenth Red Velvet Cake special?
This cake not only features a stunning red color and rich chocolate flavor, but it also celebrates heritage and community, making it perfect for gatherings and celebrations.
How do I know when my Juneteenth Red Velvet Cake is done baking?
Check if your cake is done by inserting a toothpick into the center. It should come out clean or with just a few crumbs attached.
Final Thoughts
I hope you find joy in creating this beautiful Juneteenth Red Velvet Cake! It’s more than just a dessert; it’s a celebration of history and togetherness. Whether you’re serving it at a gathering or enjoying it with loved ones, this recipe is sure to bring smiles all around. Enjoy every slice!
Juneteenth Red Velvet Cake
Indulge in the delightful and vibrant flavor of this Juneteenth Red Velvet Cake, a perfect centerpiece for any gathering. With its rich chocolate undertones and stunning red hue, this cake is more than just a dessert; it’s a celebration of culture and community. Topped with creamy frosting, it’s sure to impress family and friends alike. Whether you’re celebrating a special occasion or simply looking to sweeten up your weeknight dinner, this cake delivers on taste and nostalgia.
- Prep Time: 20 minutes
- Cook Time: 30 minutes
- Total Time: 50 minutes
- Yield: Makes approximately 12 servings 1x
- Category: Dessert
- Method: Baking
- Cuisine: American
Ingredients
- 2 ½ cups all-purpose flour
- 1 cup granulated sugar
- 1 cup vegetable oil
- 1 cup buttermilk (or plain yogurt)
- 2 large eggs
- 3 tablespoons cocoa powder
- 1 teaspoon baking soda
- 1 teaspoon white vinegar
- 2 teaspoons vanilla extract
- 1 tablespoon red food coloring
- Pinch of salt
Instructions
- Preheat your oven to 350°F (175°C) and grease two round cake pans.
- In a bowl, whisk together the flour, cocoa powder, baking soda, and salt.
- In another bowl, mix the sugar, vegetable oil, buttermilk (or yogurt), eggs, food coloring, vinegar, and vanilla extract until smooth.
- Gradually add the dry ingredients to the wet mixture until just combined—avoid overmixing.
- Divide the batter between the prepared pans and bake for 25-30 minutes or until a toothpick comes out clean.
- Allow cake layers to cool completely before frosting generously with cream cheese frosting.
Nutrition
- Serving Size: 1 slice (100g)
- Calories: 360
- Sugar: 35g
- Sodium: 200mg
- Fat: 20g
- Saturated Fat: 3g
- Unsaturated Fat: 15g
- Trans Fat: 0g
- Carbohydrates: 40g
- Fiber: 1g
- Protein: 4g
- Cholesterol: 30mg



Leave a Comment