If you’re looking for a delightful treat that not only adds joy to your Easter celebrations but also brings smiles to everyone’s faces, you’ve found it in these Easter Cookie Bars! They are the perfect blend of buttery goodness and vibrant colors, making them a hit at any gathering. Whether it’s a busy weeknight or a festive family gathering, these bars are simple to whip up and even easier to enjoy.
What makes this recipe special is its versatility; you can enjoy these cookie bars throughout the year, not just during Easter! Every bite is filled with sweet memories and the essence of spring. Plus, they’re fun to make with your little ones—what better way to celebrate than in the kitchen together?
Why You’ll Love This Recipe
- Quick and Easy: With just 15 minutes of prep time, you can have these delicious bars baking away in no time!
- Family-Friendly: Kids love the colorful sprinkles and chocolate chips, making these bars a hit with all ages.
- Make-Ahead Convenience: Bake them ahead of time for parties or gatherings. Just store in an airtight container and enjoy later!
- Endless Flavor Possibilities: Customize with your favorite mix-ins or flavored extracts for a unique twist every time.
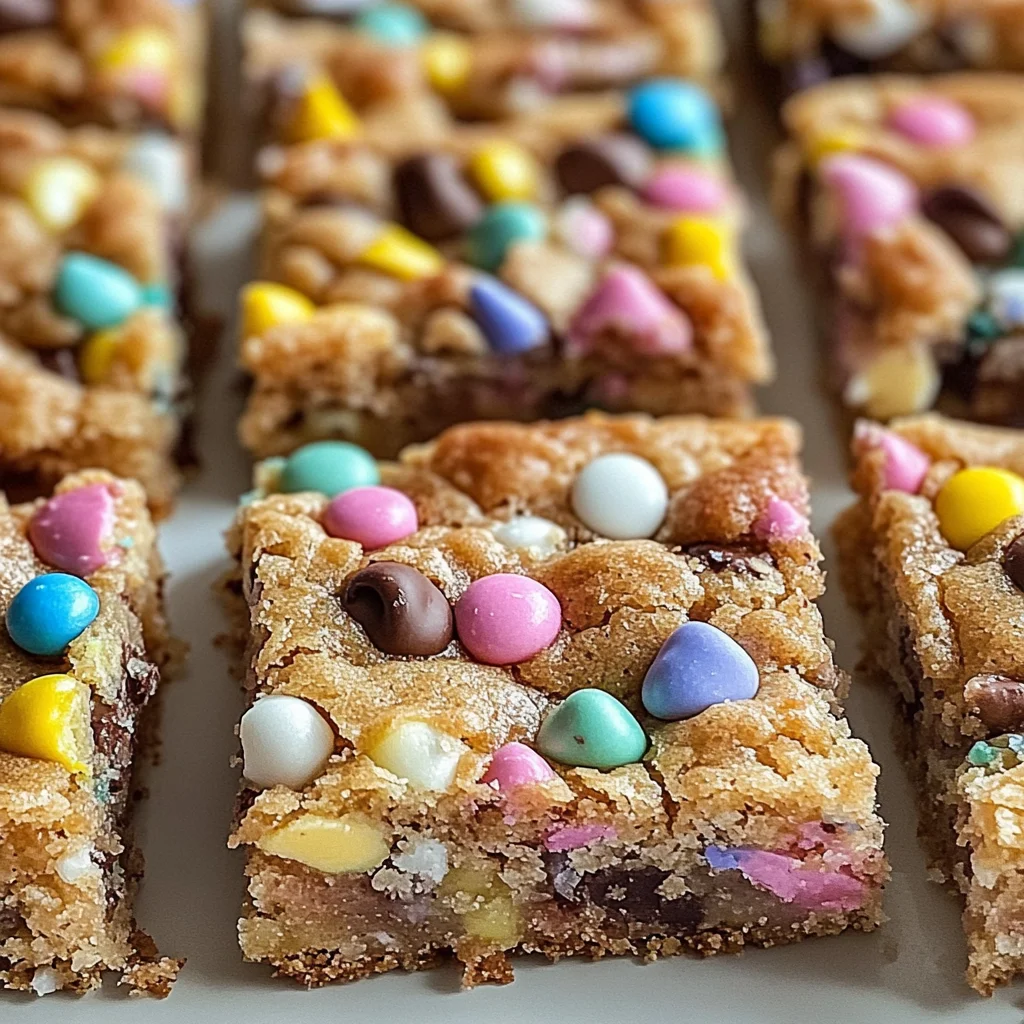
Ingredients You’ll Need
Let’s gather some simple, wholesome ingredients that you probably already have in your kitchen! These are the key players for our Easter Cookie Bars, ensuring each bite is full of flavor.
- Unsalted Butter
- Granulated Sugar
- Brown Sugar
- Eggs
- All-Purpose Flour
- Baking Powder
- Salt
- Colorful Sprinkles
- Chocolate Chips
Variations
One of the best things about these Easter Cookie Bars is how flexible they are! Feel free to get creative and make them your own with these fun variations:
- Swap the Chocolate Chips: Try using pastel M&Ms instead for a colorful twist that screams spring!
- Add Flavor Extracts: Enhance the flavor by adding almond or lemon extract—perfect for adding a touch of zest.
- Mix in Nuts: For some crunch, consider folding in chopped nuts such as walnuts or pecans.
- Change up the Sprinkles: Use themed sprinkles for different holidays or seasons!
How to Make Easter Cookie Bars
Step 1: Preheat Your Oven
Start by preheating your oven to 350°F (175°C). This ensures that your cookie bars will bake evenly. While the oven heats up, line a 9×13-inch baking dish with parchment paper. This makes it easy to remove the bars later and keeps cleanup simple.
Step 2: Cream Together Butter and Sugars
In a large mixing bowl, cream together unsalted butter, granulated sugar, and brown sugar. Mix until fluffy—this step is crucial because it creates air pockets that help make your bars light and chewy.
Step 3: Add Eggs
Next, add room temperature eggs, one at a time. Mixing well after each addition helps combine everything evenly. This ensures that each bar has that rich and tender texture we all love!
Step 4: Combine Dry Ingredients
In another bowl, whisk together all-purpose flour, baking powder, and salt. Gradually add this dry mixture into your wet ingredients until just combined. Be careful not to overmix; we want those delicious cookie bars to stay soft!
Step 5: Fold in Sweetness
Now it’s time for the fun part! Gently fold in chocolate chips and colorful sprinkles until they’re evenly distributed throughout the batter. This adds bursts of sweetness and color that make every bite delightful.
Step 6: Bake Your Bars
Pour the batter into your prepared baking dish and spread it out evenly. Bake for 25-30 minutes until golden brown on top. The smell will be amazing! Let them cool before slicing into squares—trust me, letting them cool helps create perfect edges.
Enjoy baking these Easter Cookie Bars with friends and family! They are sure to become a beloved tradition in your home.
Pro Tips for Making Easter Cookie Bars
Baking can be a delightful experience, especially when you have a few handy tips up your sleeve! Here are some pro tips to ensure your Easter Cookie Bars turn out perfectly every time:
Use Room Temperature Ingredients: Bringing your butter and eggs to room temperature helps in achieving a light and fluffy batter, which results in better texture for your cookie bars.
Don’t Overmix the Batter: Mixing just until combined prevents the development of excess gluten, ensuring that your bars remain chewy and tender rather than dense and tough.
Experiment with Mix-Ins: Feel free to swap chocolate chips for pastel M&Ms or even try adding flavored extracts like almond or lemon. This adds a personal touch and keeps things exciting!
Check for Doneness: Bake until the top is golden brown but slightly soft in the center. Using a toothpick to check the edges should yield clean results while being slightly moist in the middle.
Cool Before Slicing: Allowing your bars to cool completely before cutting ensures cleaner slices and helps them hold their shape, making for a prettier presentation.
How to Serve Easter Cookie Bars
Serving these delightful Easter Cookie Bars is just as fun as baking them! Here are some creative ideas to present them beautifully at your next gathering.
Garnishes
- Powdered Sugar Dusting: A light dusting of powdered sugar can add an elegant touch, enhancing both visual appeal and flavor.
- Fresh Berries: Adding fresh strawberries or blueberries not only brightens up the plate but also complements the sweetness of the bars perfectly.
Side Dishes
- Fruit Salad: A refreshing fruit salad made with seasonal fruits like strawberries, kiwis, and oranges provides a vibrant contrast to the richness of the cookie bars.
- Vanilla Ice Cream: Serving these cookie bars warm with a scoop of vanilla ice cream creates a delightful indulgence that’s hard to resist.
- Whipped Coconut Cream: For a dairy-free alternative, whipped coconut cream adds a creamy texture and tropical flair that pairs nicely with the sweetness of the bars.
- Lemonade or Iced Tea: A chilled glass of lemonade or iced tea offers a refreshing drink option that balances out the dessert’s sweetness beautifully.
With these serving suggestions and pro tips, you’re all set to impress friends and family with your deliciously festive Easter Cookie Bars! Enjoy every bite!
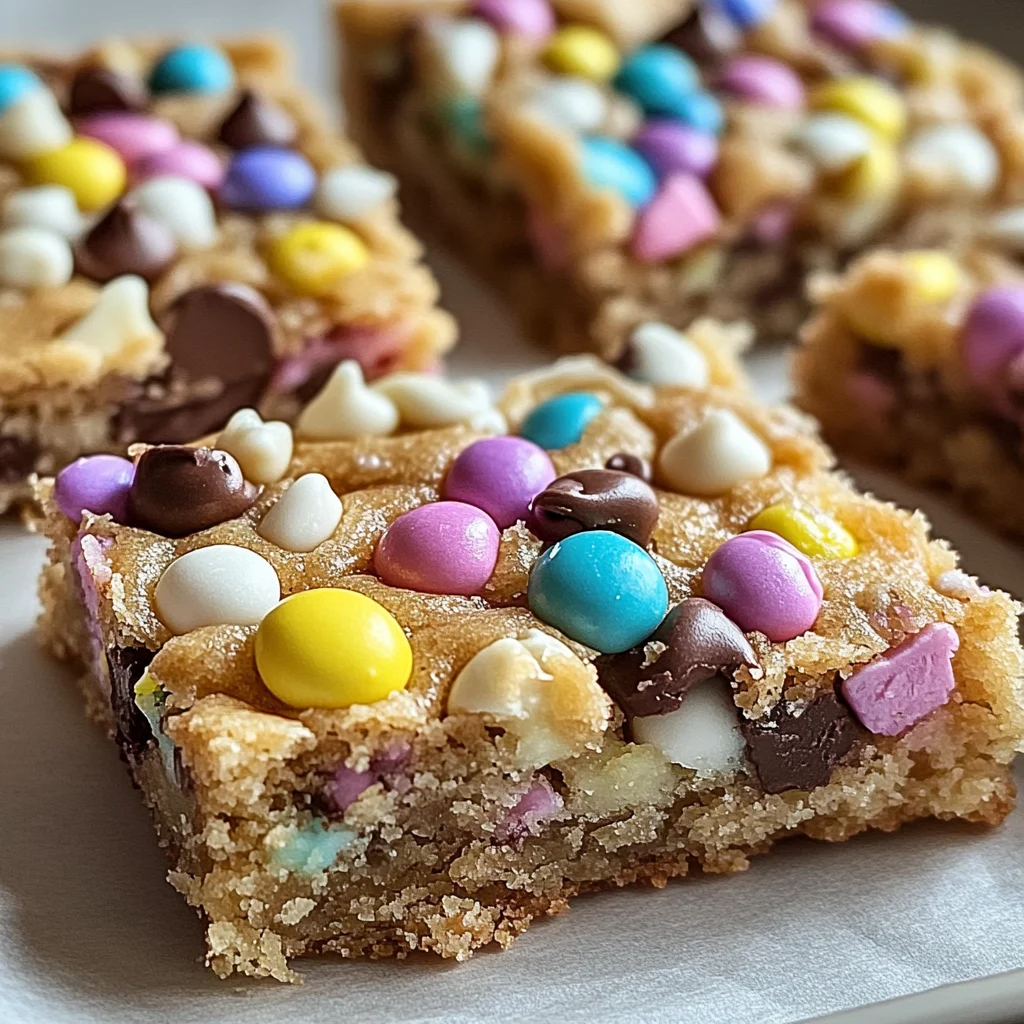
Make Ahead and Storage
These Easter Cookie Bars are perfect for meal prep, allowing you to enjoy delicious treats without the hassle on the day of your celebrations. You can easily store or freeze them to ensure they stay fresh and tasty.
Storing Leftovers
- Store leftover cookie bars in an airtight container at room temperature for up to five days.
- For longer freshness, consider refrigerating them, which can extend their life by up to a week.
Freezing
- Allow the cookie bars to cool completely before freezing.
- Slice into individual portions, then wrap each piece in plastic wrap or foil.
- Place wrapped bars in a freezer-safe bag or container; they can be frozen for up to three months.
Reheating
- To enjoy warm cookie bars, preheat your oven to 350°F (175°C).
- Place the desired number of bars on a baking sheet and heat for about 5-10 minutes until warmed through.
- Alternatively, you can microwave individual pieces for about 15-20 seconds.
FAQs
Here are some common questions about making Easter Cookie Bars:
Can I customize my Easter Cookie Bars?
Absolutely! Feel free to swap chocolate chips with pastel M&Ms or add flavored extracts like almond or lemon for a unique twist.
How do I know when my Easter Cookie Bars are done baking?
Your cookie bars are done when they turn golden brown and a toothpick inserted in the center comes out clean or with just a few moist crumbs.
What’s the best way to store my Easter Cookie Bars?
Store them in an airtight container at room temperature for up to five days, or refrigerate them for up to a week.
Can I use gluten-free flour for Easter Cookie Bars?
Yes! You can substitute all-purpose flour with a gluten-free flour blend in this recipe. Just make sure it has a binding agent like xanthan gum included.
Final Thoughts
I hope you find these Easter Cookie Bars as delightful as they are easy to make! Their vibrant colors and sweet flavors truly capture the essence of springtime. Enjoy creating these treats with your loved ones, and may they bring joy and sweet memories to your holiday celebrations. Happy baking!
Easter Cookie Bars

Indulge in the delight of our Easter Cookie Bars—a vibrant and tasty treat perfect for celebrating spring! With a scrumptious blend of buttery cookie goodness, colorful sprinkles, and rich chocolate chips, these bars are guaranteed to bring smiles to faces of all ages. Whether you’re hosting a festive gathering or simply craving something sweet, these easy-to-make cookie bars can be prepared in just 15 minutes. Enjoy the fun of baking with family, customize them with your favorite mix-ins, and create lasting memories around the kitchen table. Perfect for any occasion throughout the year, these cookie bars will quickly become a go-to dessert!
- Prep Time: 15 minutes
- Cook Time: 30 minutes
- Total Time: 45 minutes
- Yield: About 12 servings
- Category: Dessert
- Method: Baking
- Cuisine: American
Ingredients
- Unsalted Butter
- Granulated Sugar
- Brown Sugar
- Eggs
- All-Purpose Flour
- Baking Powder
- Salt
- Colorful Sprinkles
- Chocolate Chips
Instructions
- Preheat your oven to 350°F (175°C) and line a 9×13-inch baking dish with parchment paper.
- In a large mixing bowl, cream together unsalted butter, granulated sugar, and brown sugar until fluffy.
- Add eggs one at a time, mixing well after each addition.
- In another bowl, whisk together all-purpose flour, baking powder, and salt. Gradually add this dry mixture to the wet ingredients until just combined.
- Fold in chocolate chips and colorful sprinkles until evenly distributed.
- Pour the batter into the prepared baking dish and spread it out evenly. Bake for 25-30 minutes until golden brown on top. Allow cooling before slicing into squares.
Nutrition
- Serving Size: 1 bar (60g)
- Calories: 210
- Sugar: 15g
- Sodium: 100mg
- Fat: 10g
- Saturated Fat: 6g
- Unsaturated Fat: 4g
- Trans Fat: 0g
- Carbohydrates: 28g
- Fiber: 1g
- Protein: 2g
- Cholesterol: 40mg

Leave a Comment