If you’re looking for a delightful dessert that will have everyone asking for seconds, this Guava Cheesecake is just the thing! The creamy vanilla cheesecake pairs beautifully with the sweet and tangy guava compote, making it a true showstopper at any gathering. Whether you’re hosting a summer dinner or just want to treat your family during the week, this recipe is sure to impress.
What makes this cheesecake even more special is its versatility. It’s perfect for festive occasions, cozy tea parties, or simply as a sweet ending to a busy day. Plus, it’s surprisingly easy to make, so you can focus on enjoying time with your loved ones while it bakes!
Why You’ll Love This Recipe
- Irresistible flavor: The combination of creamy cheesecake and fresh guava creates a taste sensation that’s hard to beat.
- Easy to prepare: With simple steps and common ingredients, whipping up this dessert feels effortless.
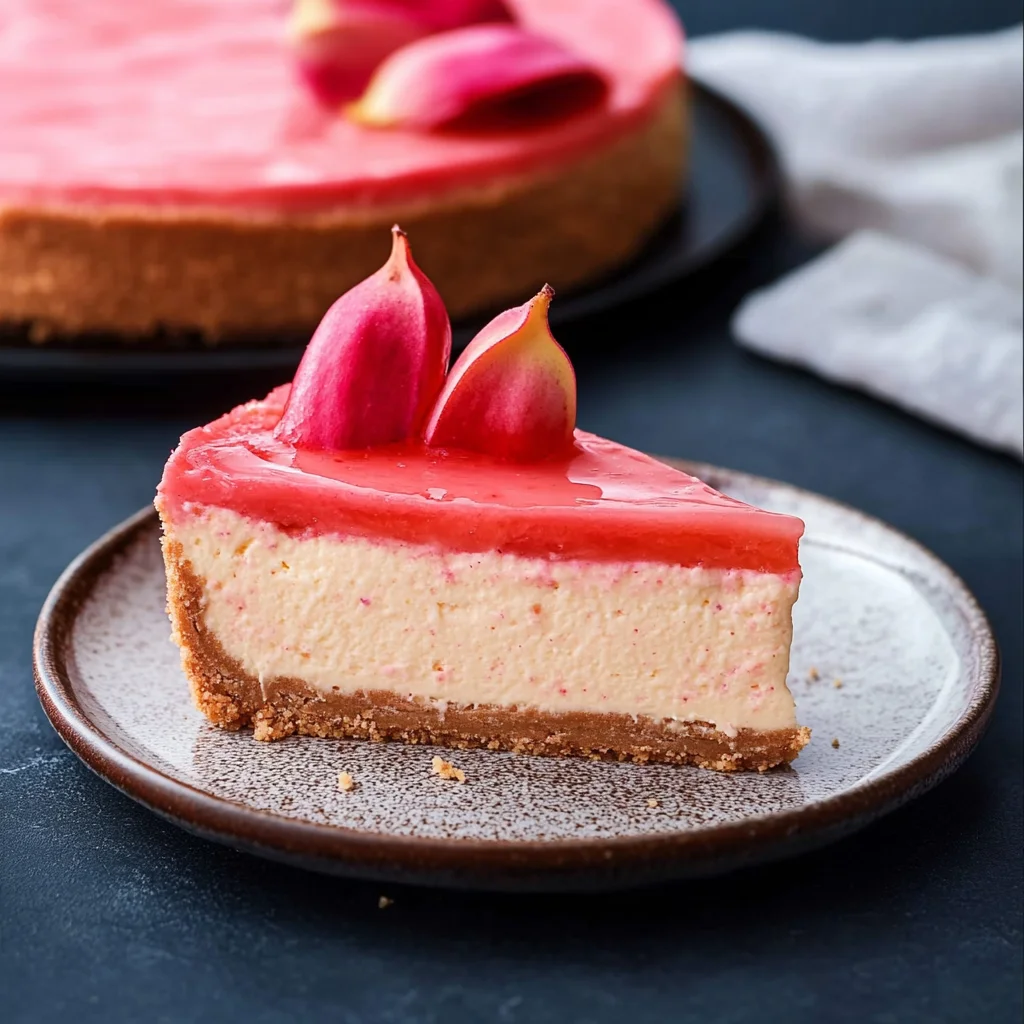
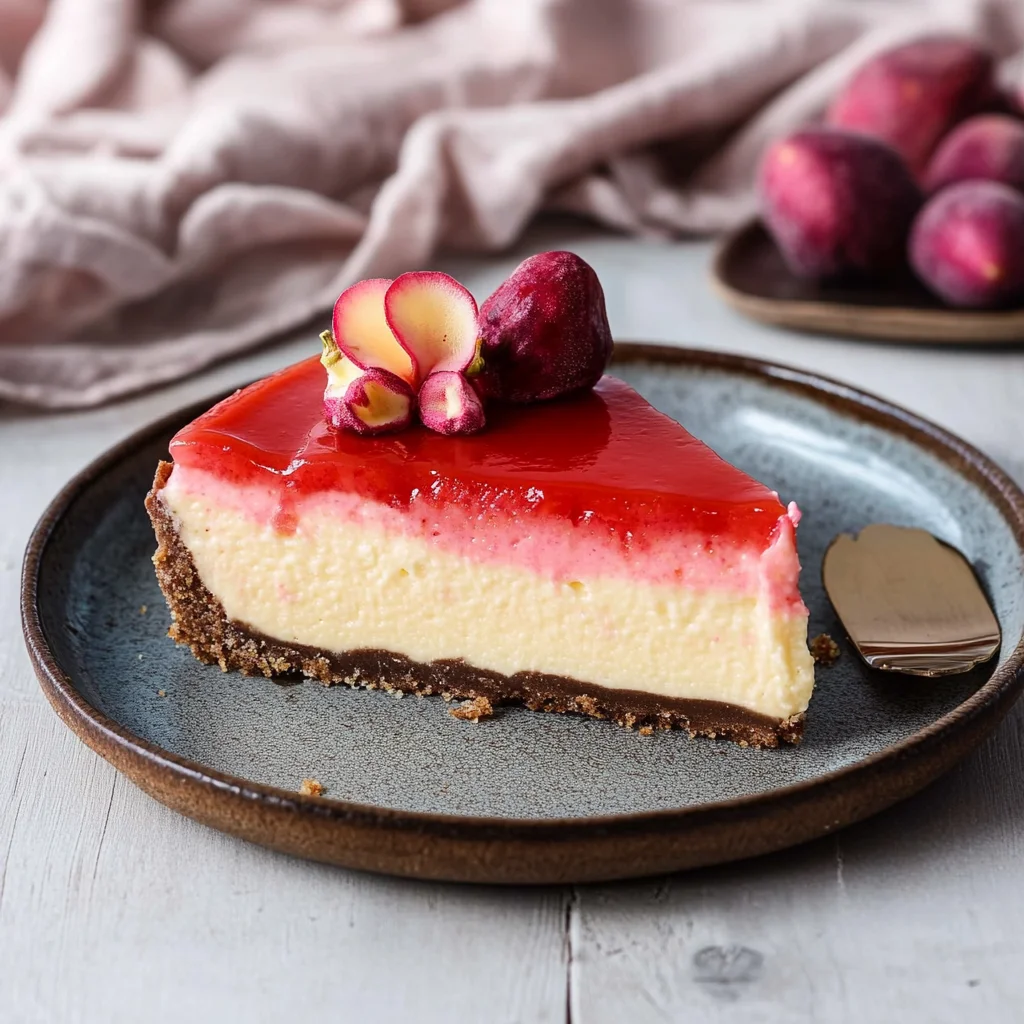
- Impressive presentation: Topped with homemade guava compote and fresh slices, it looks as good as it tastes!
- Perfect for sharing: This recipe yields 12 generous slices—ideal for gatherings or family dinners.
- Make-ahead convenience: You can prepare it in advance, giving you more time to relax before your guests arrive.
Ingredients You’ll Need
Creating this Guava Cheesecake requires just a handful of simple and wholesome ingredients. Each one plays an important role in bringing out the delicious flavors of the cake. Here’s what you’ll need:
For the Guava Compote
- 500 g guavas (chopped and peeled)
- 80 g granulated white sugar
- 1 tbsp lime juice
For the Cheesecake Base
- 300 g Tennis biscuits
- 150 g unsalted butter (melted)
For the Cheesecake Filling
- 700 g cream cheese
- 250 g castor sugar
- 4 eggs (extra large)
- 1 tsp vanilla extract
- 200 ml whipping cream
For Decorating
- 200 g guavas
Variations
This Guava Cheesecake recipe is wonderfully flexible! You can tweak it to suit your taste or dietary preferences. Here are some fun variations you might enjoy:
- Add a tropical twist: Incorporate other fruits like mango or passionfruit into the compote for an exotic flair.
- Make it gluten-free: Substitute traditional biscuits with gluten-free alternatives to cater to gluten-sensitive guests.
- Try a vegan option: Use plant-based cream cheese and coconut cream instead of whipping cream for a vegan-friendly version.
- Infuse with spices: Add a pinch of cinnamon or nutmeg to the filling for a warm, comforting flavor profile.
How to Make Guava Cheesecake
Step 1: Prepare the Guava Compote
Start by cooking down your chopped guavas with sugar and lime juice in a saucepan over medium heat. Stir occasionally until the mixture thickens into a luscious compote. This step not only enhances the natural sweetness of guavas but also helps create that stunning topping for your cheesecake.
Step 2: Make the Biscuit Base
In a mixing bowl, combine crushed Tennis biscuits with melted unsalted butter. This mixture will form the crust of your cheesecake. Press it firmly into the bottom of your springform pan—this sets up a delightful crunch that complements the creamy filling perfectly.
Step 3: Mix the Cheesecake Filling
In another bowl, beat together cream cheese and castor sugar until smooth. Add in eggs one at a time, mixing well between each addition. Finally, stir in vanilla extract and whipping cream until everything is well combined. This fluffy mixture is what makes your cheesecake rich and creamy!
Step 4: Bake Your Cheesecake
Pour the filling over your prepared biscuit base and smooth out the top with a spatula. Bake in a preheated oven until set but slightly jiggly in the center—about 50 minutes should do it! This gentle baking ensures that your cheesecake remains creamy without cracking.
Step 5: Cool and Decorate
Once baked, allow your cheesecake to cool completely before refrigerating it for at least four hours (or overnight if possible). When ready to serve, top generously with your homemade guava compote and fresh guava slices for an eye-catching finish!
Enjoy every slice of this delightful Guava Cheesecake—it’s sure to become a favorite among friends and family alike!
Pro Tips for Making Guava Cheesecake
Creating the perfect guava cheesecake is easier than you think! Here are a few tips to help you achieve a creamy, delicious result.
Use room temperature ingredients: Allow your cream cheese and eggs to reach room temperature before mixing. This ensures a smoother batter without lumps and helps the cheesecake bake evenly.
Don’t overmix: When combining your ingredients, mix just until they are incorporated. Overmixing can introduce too much air, leading to cracks in your cheesecake as it cools.
Bake in a water bath: Placing your cheesecake pan in a larger pan filled with hot water helps regulate the baking temperature and prevents the top from cracking, giving you that smooth finish.
Cool gradually: After baking, turn off the oven and leave the cheesecake inside with the door slightly ajar for an hour. This gradual cooling process helps prevent sudden temperature changes that can cause cracks.
Chill overnight: For the best flavor and texture, refrigerate your cheesecake overnight before serving. This allows it to set properly and enhances the guava flavor.
How to Serve Guava Cheesecake
Presenting your guava cheesecake beautifully will impress your guests and make for an unforgettable dessert experience. Here are some ideas:
Garnishes
- Fresh mint leaves: A few sprigs of mint add a pop of color and a refreshing aroma that complements the sweetness of guava.
- Lime zest: Sprinkling some lime zest on top offers a citrusy brightness that enhances the flavors of the dessert.
Side Dishes
- Coconut sorbet: The creamy texture and tropical flavor of coconut sorbet provide a delightful contrast to the richness of the cheesecake.
- Tropical fruit salad: A vibrant mix of seasonal fruits like mango, pineapple, and kiwi can enhance the tropical vibe of your dessert while adding freshness.
- Whipped coconut cream: This dairy-free alternative adds lightness and creaminess without overpowering the main dish, making it a great accompaniment.
- Graham cracker crumbs: Serving a small side of graham cracker crumbs can provide an added crunchy texture that pairs well with each slice of cheesecake.
Make Ahead and Storage
This Guava Cheesecake is perfect for meal prep, allowing you to enjoy its deliciousness throughout the week or impress guests at gatherings with ease.
Storing Leftovers
- Store any leftover cheesecake in an airtight container in the refrigerator.
- It can last for up to 5 days when properly stored.
- Ensure that the guava compote is covered separately if you have extra.
Freezing
- Wrap individual slices of cheesecake tightly in plastic wrap, followed by aluminum foil.
- Freeze for up to 2 months for the best quality.
- Thaw overnight in the refrigerator before serving.
Reheating
- For a warm slice, place it in the microwave on low power for about 20-30 seconds.
- Alternatively, let it sit at room temperature for about 30 minutes before enjoying.
FAQs
Can I use canned guavas for this Guava Cheesecake?
Yes, you can substitute fresh guavas with canned ones. Just ensure they are well-drained and chopped before using them in the recipe.
What makes this Guava Cheesecake different from regular cheesecake?
This Guava Cheesecake features a delightful guava compote topping that adds a tropical twist, making it unique and refreshing compared to traditional cheesecakes.
How do I know when my Guava Cheesecake is done baking?
The cheesecake should be set around the edges but slightly jiggly in the center. It will continue to firm up as it cools.
Final Thoughts
This Guava Cheesecake is not just a dessert; it’s a celebration of flavors and a perfect treat for any occasion! I hope you enjoy making this recipe as much as I did, and that it brings smiles to your table. Don’t hesitate to share your experience—happy baking!
Guava Cheesecake
Indulge your taste buds with this exquisite Guava Cheesecake, a dessert that perfectly balances creamy vanilla cheesecake with the sweet and tangy notes of fresh guava compote. Ideal for any occasion, from summer gatherings to cozy family dinners, this cheesecake is not only a visual showstopper but also simple to prepare. With its impressive presentation and delightful flavors, it’s a guaranteed crowd-pleaser that will leave everyone asking for seconds. Plus, you can easily make it ahead of time, allowing you to relax and enjoy quality moments with friends and family while it bakes to perfection!
- Prep Time: 20 minutes
- Cook Time: 50 minutes
- Total Time: 1 hour 10 minutes
- Yield: Serves 12 1x
- Category: Dessert
- Method: Baking
- Cuisine: Tropical
Ingredients
- 500 g guavas (chopped and peeled)
- 80 g granulated white sugar (for compote)
- 1 tbsp lime juice
- 300 g Tennis biscuits
- 150 g unsalted butter (melted)
- 700 g cream cheese
- 250 g castor sugar
- 4 extra-large eggs
- 1 tsp vanilla extract
- 200 ml whipping cream
- Fresh guavas for decorating
Instructions
- Prepare the Guava Compote: Cook chopped guavas with sugar and lime juice in a saucepan over medium heat until thickened.
- Make the Biscuit Base: Mix crushed Tennis biscuits with melted butter and press into the bottom of a springform pan.
- Mix the Cheesecake Filling: Beat cream cheese and castor sugar until smooth; add eggs one at a time, then stir in vanilla extract and whipping cream.
- Bake: Pour filling over the biscuit base; bake in a preheated oven until set but slightly jiggly in the center (about 50 minutes).
- Cool and Decorate: Cool completely before refrigerating for at least four hours; top with guava compote and fresh slices before serving.
Nutrition
- Serving Size: 1 serving
- Calories: 350
- Sugar: 30g
- Sodium: 180mg
- Fat: 24g
- Saturated Fat: 14g
- Unsaturated Fat: 8g
- Trans Fat: 0g
- Carbohydrates: 30g
- Fiber: 1g
- Protein: 6g
- Cholesterol: 90mg
Leave a Comment